
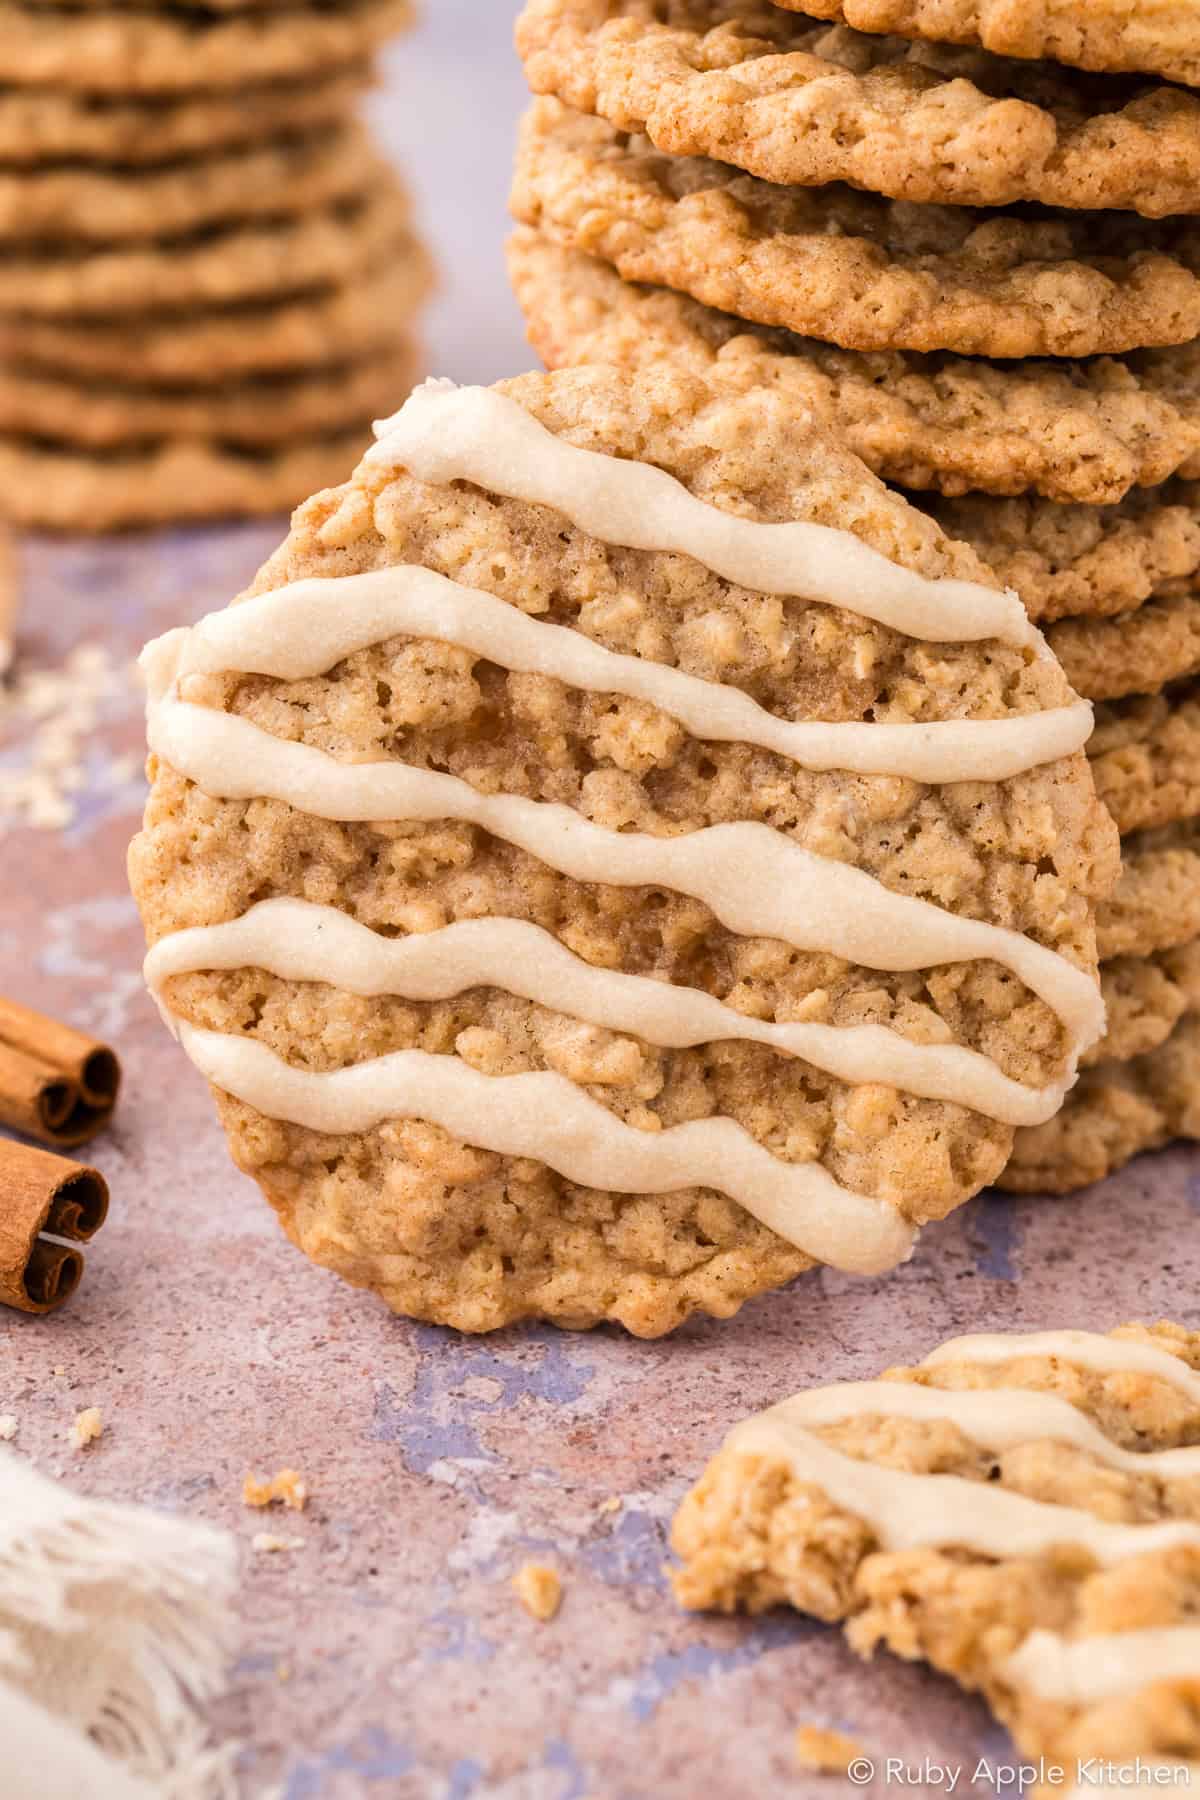
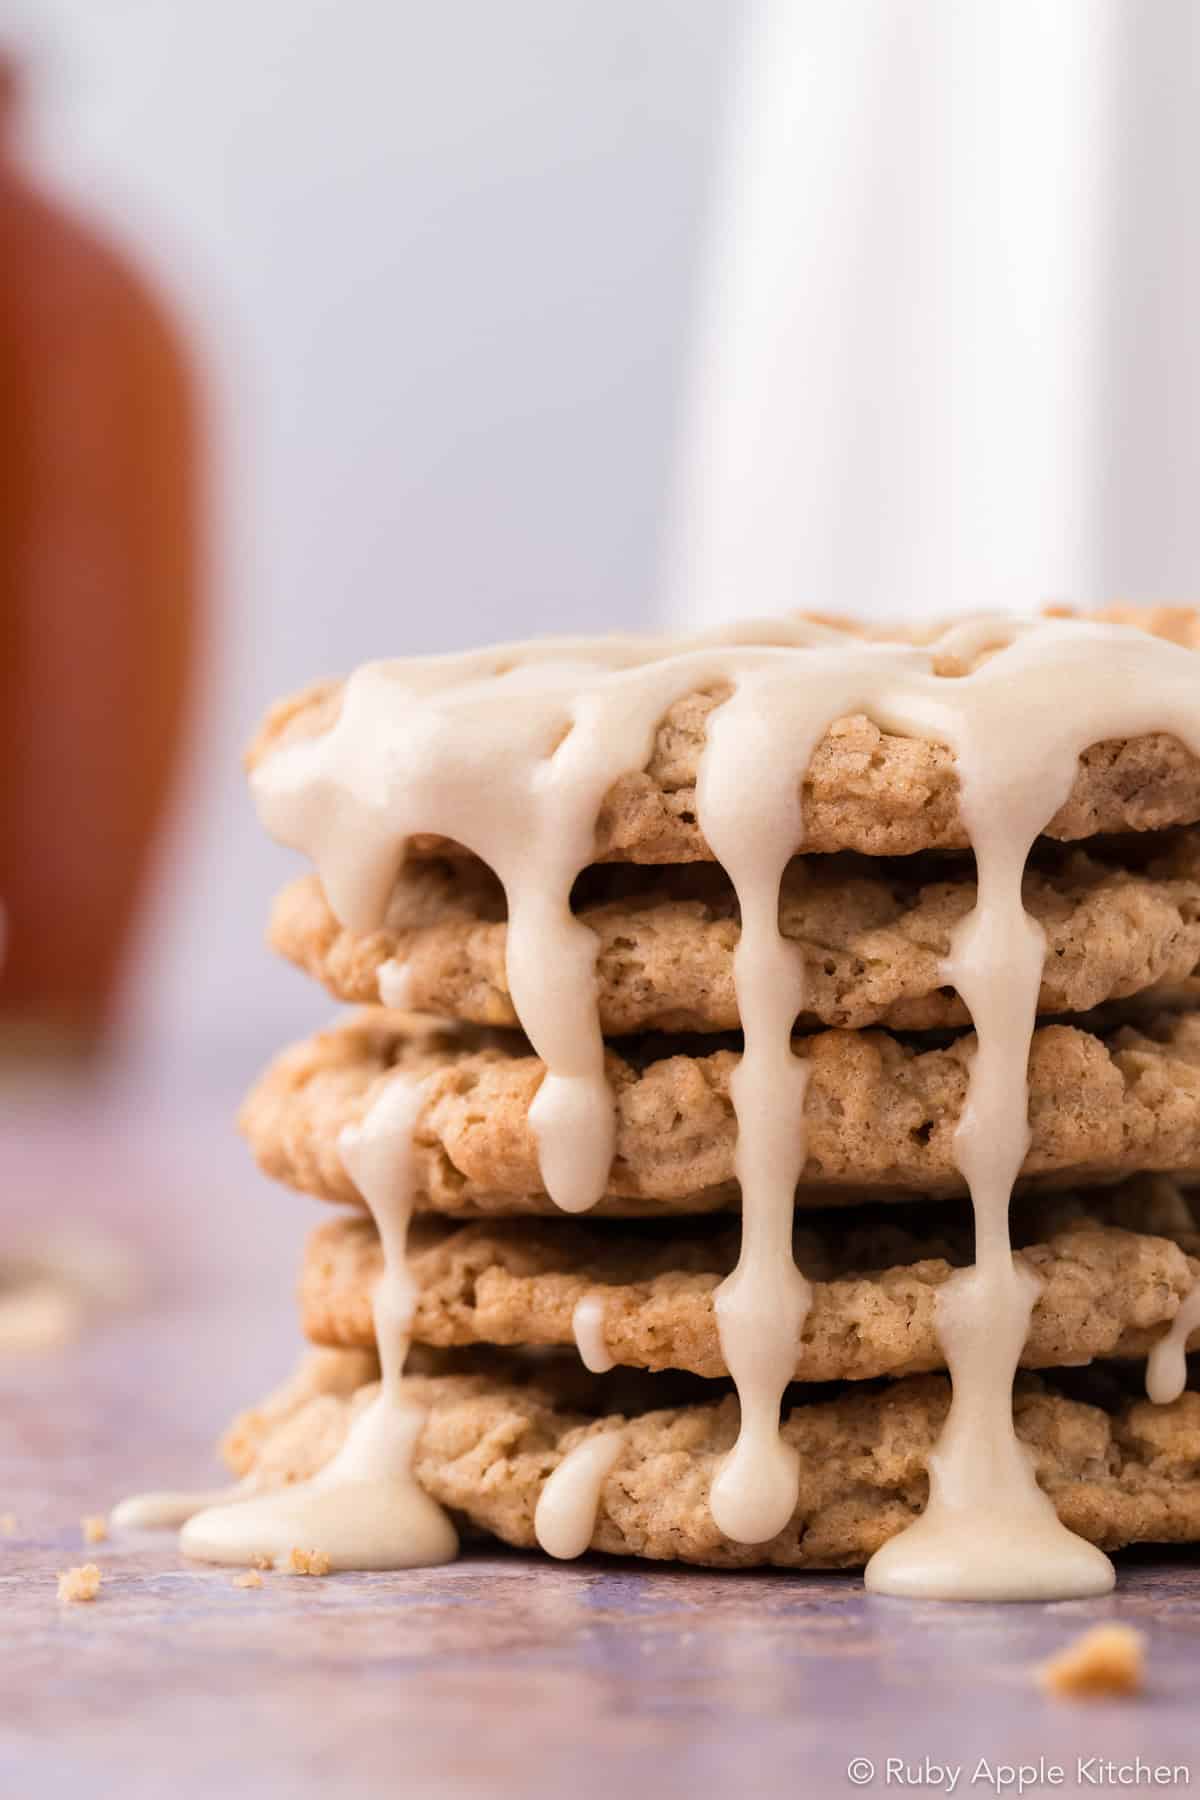
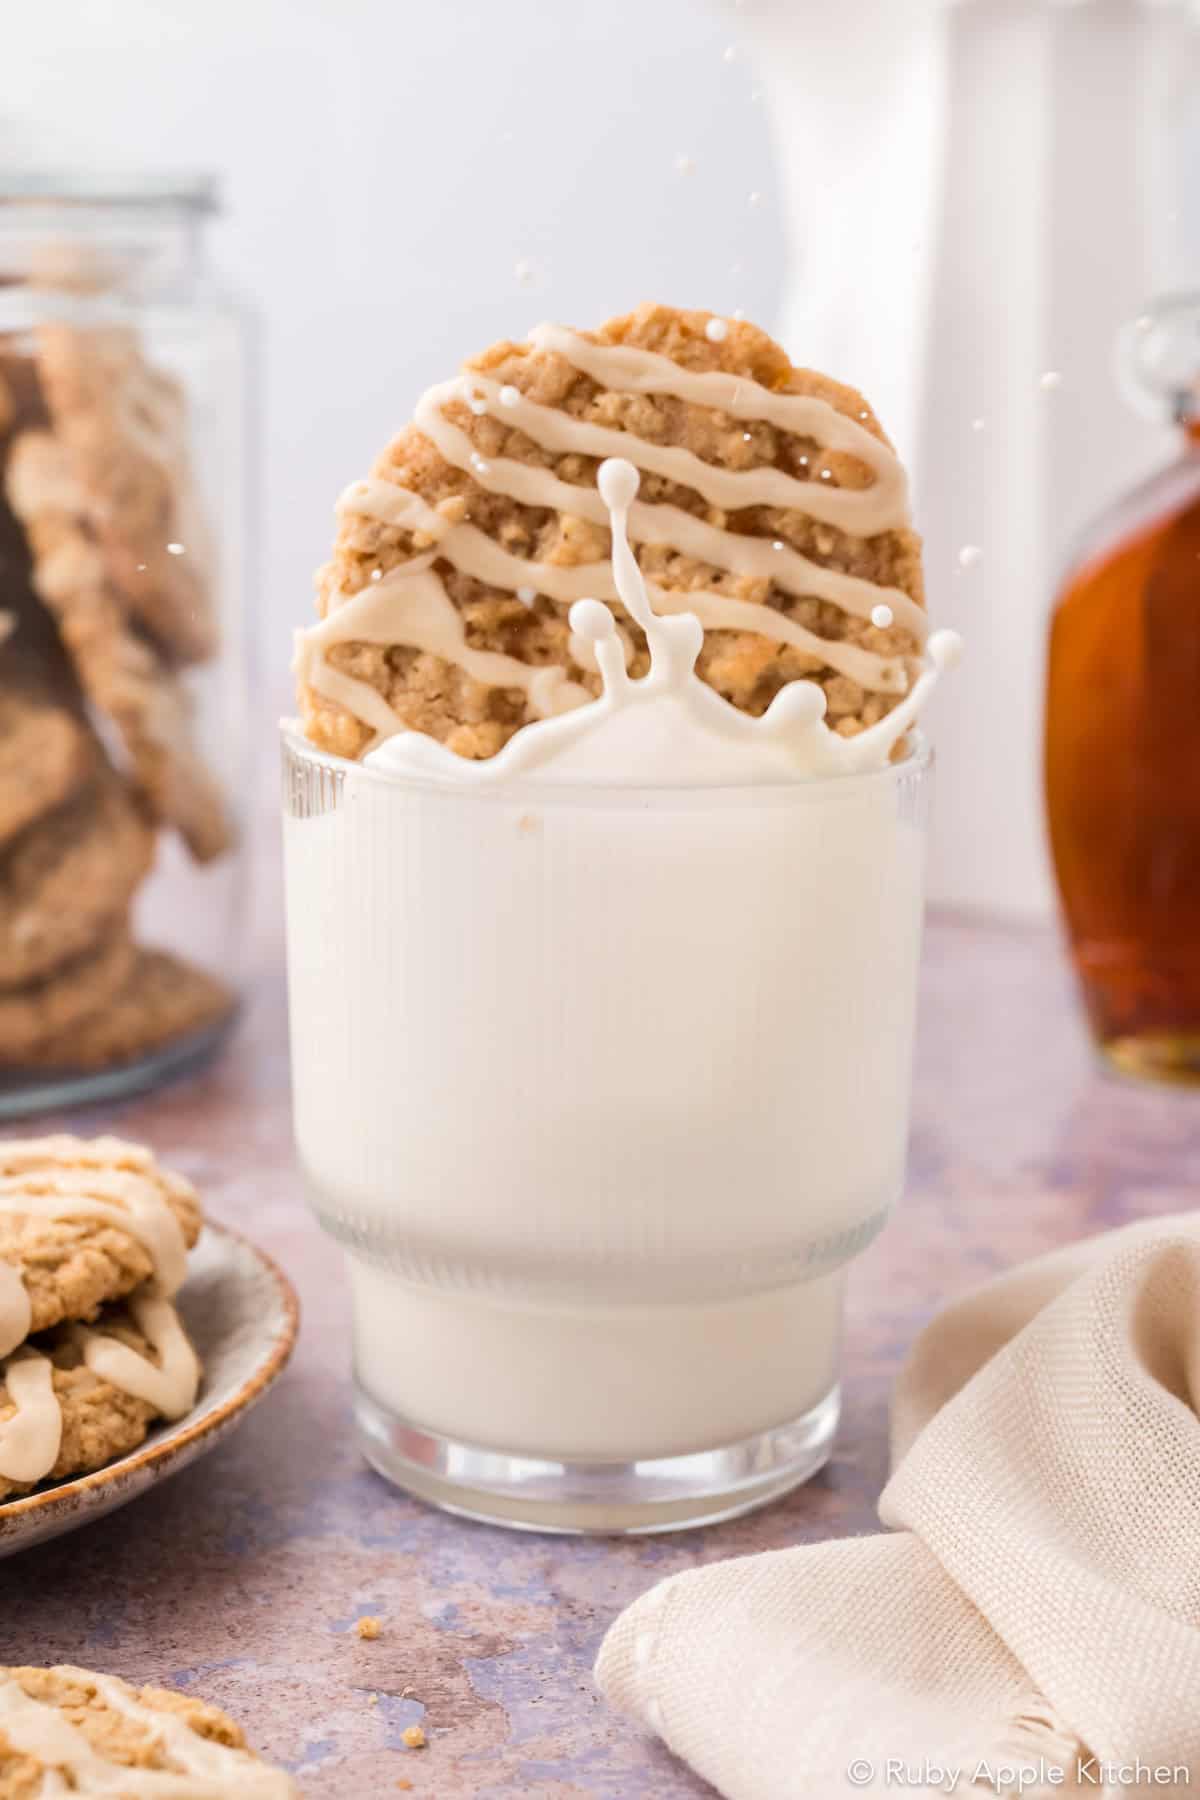
These chewy maple oatmeal cookies with Rice Krispies have lightly crisp exteriors that give way to soft, chewy centers, with a cozy blend of maple, molasses, and cinnamon. Quick oats add chewiness, while the Rice Krispies blend into the cookies as they bake, adding a subtle crispness without an obvious cereal crunch. A touch of vanilla ties the flavors together, and an optional maple glaze adds sweetness and brings the maple flavor forward.
Jump to:
How I Developed This Recipe
Growing up, we called these Maple Oat Chewies, and somehow I went close to 30 years without making them again. They were such a family favorite that my brother entered them in the fair and won blue ribbons at both the county and state levels. When I finally came back to the recipe, I wasn’t looking to reinvent it.
The real time warp happened when I added the molasses. The smell immediately took me back to the baking cabinet in my childhood kitchen. I had always thought the recipe came from an aunt on my dad’s side, but my mom remembers these cookies from her teenage years in the late 1960s and has wondered if the recipe came from an oatmeal box. I haven’t been able to confirm the original source, but I found the same formula attributed to the Pillsbury Best of the Bake-Off Cookbook.
My sister and I always wished the cookies had a little more thickness and structure, and I think we even tried adding a little extra flour. When I made the original again, it was just as thin, fragile, and chewy as I remembered, so I set out to give it a little more structure without losing that bendy chew.
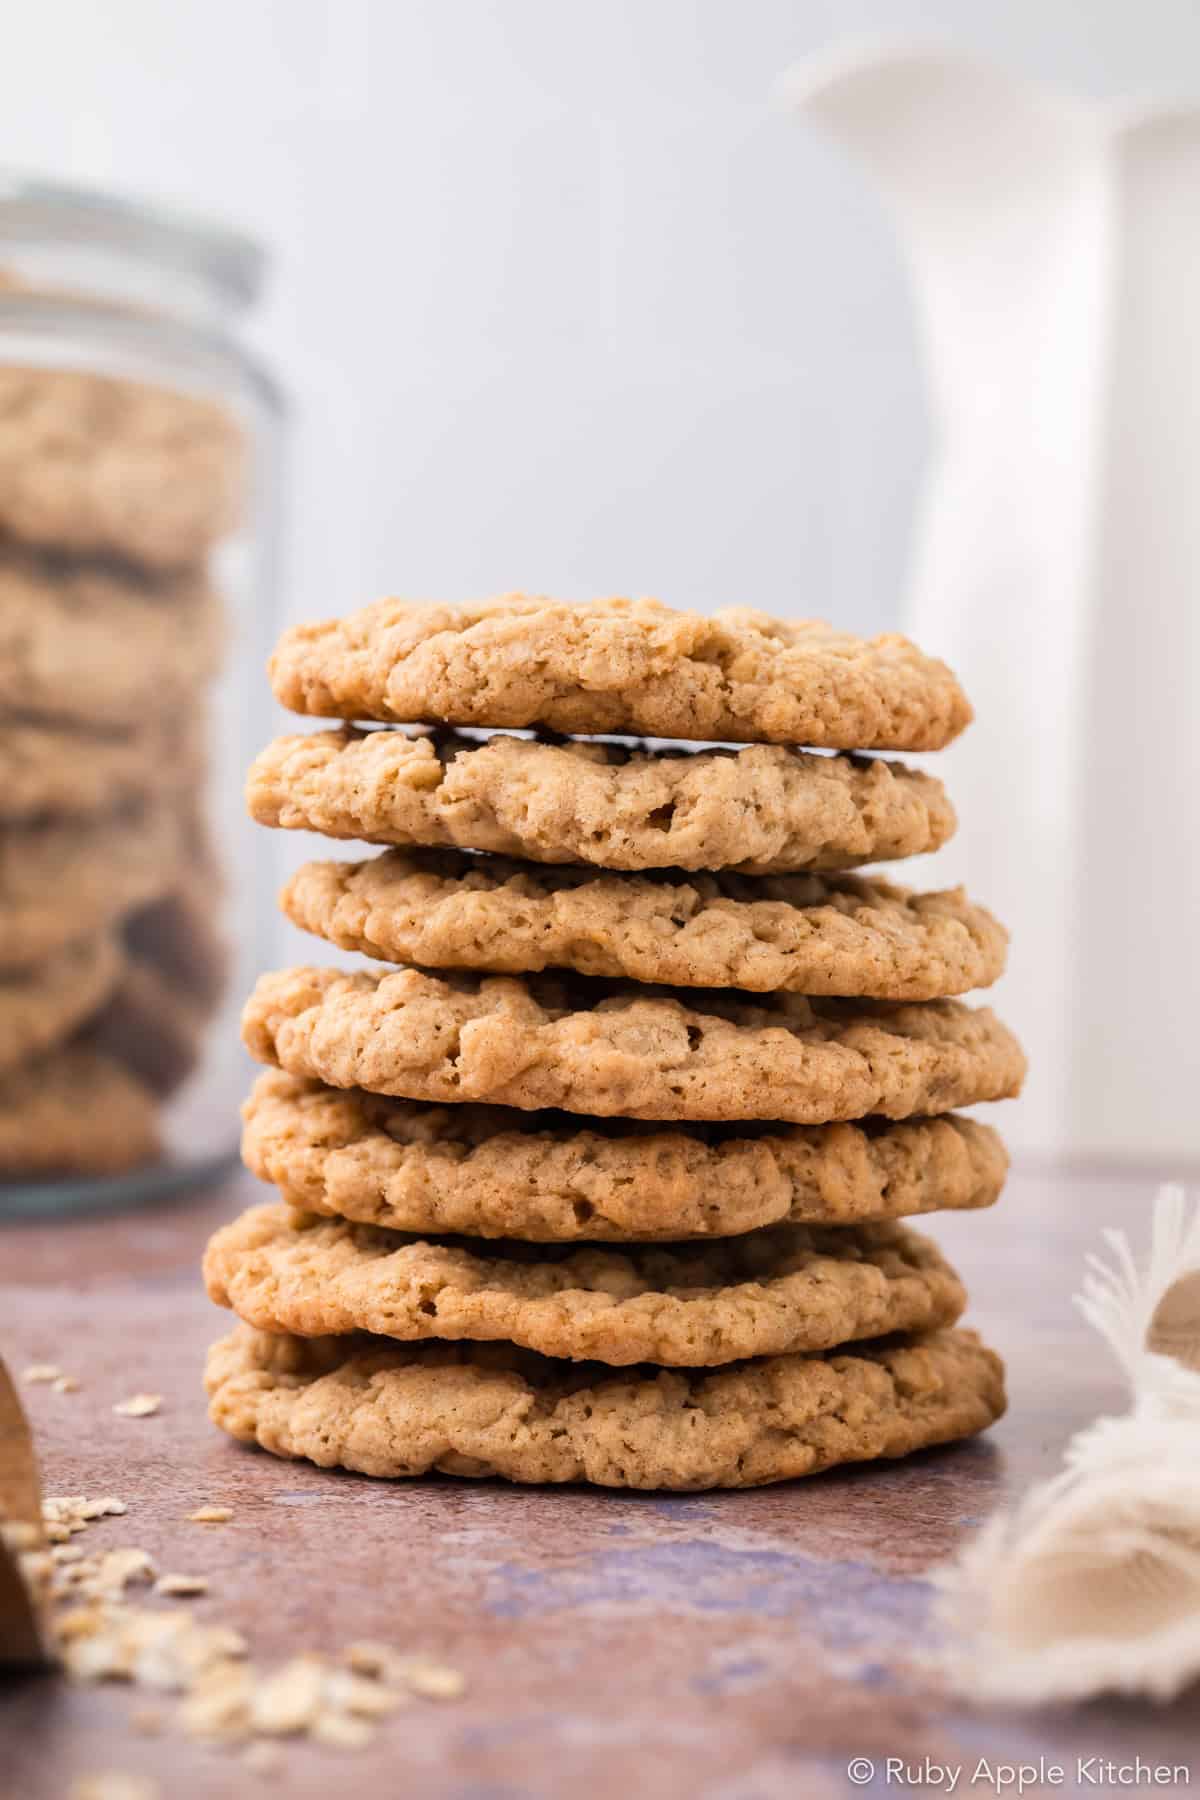
I tested different amounts of butter and flour, adjusted the sugar and leavening, compared chilled and unchilled dough, changed the oven temperature, and baked the cookies on both parchment and lightly greased aluminum. I also added a little more salt and a touch of vanilla to round out the flavor. The final version is still on the thinner side, but it’s thicker and sturdier than the almost lace-like original, with lightly crisp exteriors and soft, chewy centers while keeping the familiar flavor I loved as a kid.
One of the most useful lessons came from an ingredient I hadn’t been treating as a variable. I was using up an older bag of brown sugar that wasn’t hard or clumpy, just drier and sandier than a fresh bag. I knew better, but ingredients are expensive and I convinced myself it was fine. Once I opened a new bag, the cookies stayed soft and chewy longer.
“Use what you have” has its limits. Dry brown sugar, apparently, is one of them.
Sometimes making something your own is less about starting over than deciding what’s worth keeping.
My son’s first reaction was, “It tastes like cereal.” Oats. Rice Krispies. Basically breakfast. We will not be discussing the butter and sugar.
When to Serve
These cookies are easy enough for an everyday bake but special enough for holiday cookie trays, potlucks, and cookie exchanges. The maple, molasses, cinnamon, and oats make them especially cozy for fall and holiday baking, but they’re just as good tucked into lunchboxes or served as an after-school snack any time of year.
Why This Recipe Works
- Less butter and more flour give the cookies more structure than the original version, so they bake slightly thicker and sturdier without losing their soft, bendy chew.
- Brown sugar and molasses help keep the centers chewy, while the reduced amount of granulated sugar helps rein in the spread and excessive crispness of the original cookie.
- Quick-cooking oats and crisp rice cereal create a layered texture. The oats give the cookies their chewy oatmeal base, while the Rice Krispies add light crispness throughout.
- Baking at 375°F helps the cookies set before they spread too far. Compared with 350°F, the hotter bake produced cookies with less spread and more browning at the exterior while keeping the centers soft and chewy.
- A little extra salt and a touch of vanilla round out the flavor, bringing the maple, molasses, brown sugar, and cinnamon together without making any one flavor overpowering.
- No chilling is required. Chilling the dough didn’t improve the final texture enough to justify the extra step, so these cookies can go straight from mixing bowl to baking sheet.
Ingredients
These cookies use familiar baking ingredients, but a few of them are especially important to the final flavor and texture. Brown sugar and molasses help create the soft, chewy centers, quick-cooking oats give the cookies a cohesive oatmeal texture, and crisp rice cereal adds light crispness throughout. Maple extract adds concentrated maple flavor without changing the dough hydration the way maple syrup would. I’m not usually a big maple-dessert person, so I keep the flavor balanced rather than overpowering. A little melted butter in the optional glaze softens the powdered-sugar flavor and gives it a smoother finish.
A note on the brown sugar: This recipe uses a generous amount of brown sugar, so its condition matters more than you might expect. Use brown sugar that is soft and moist rather than dry or sandy. Dried-out brown sugar can affect the chew and how well the cookies hold their texture after baking.
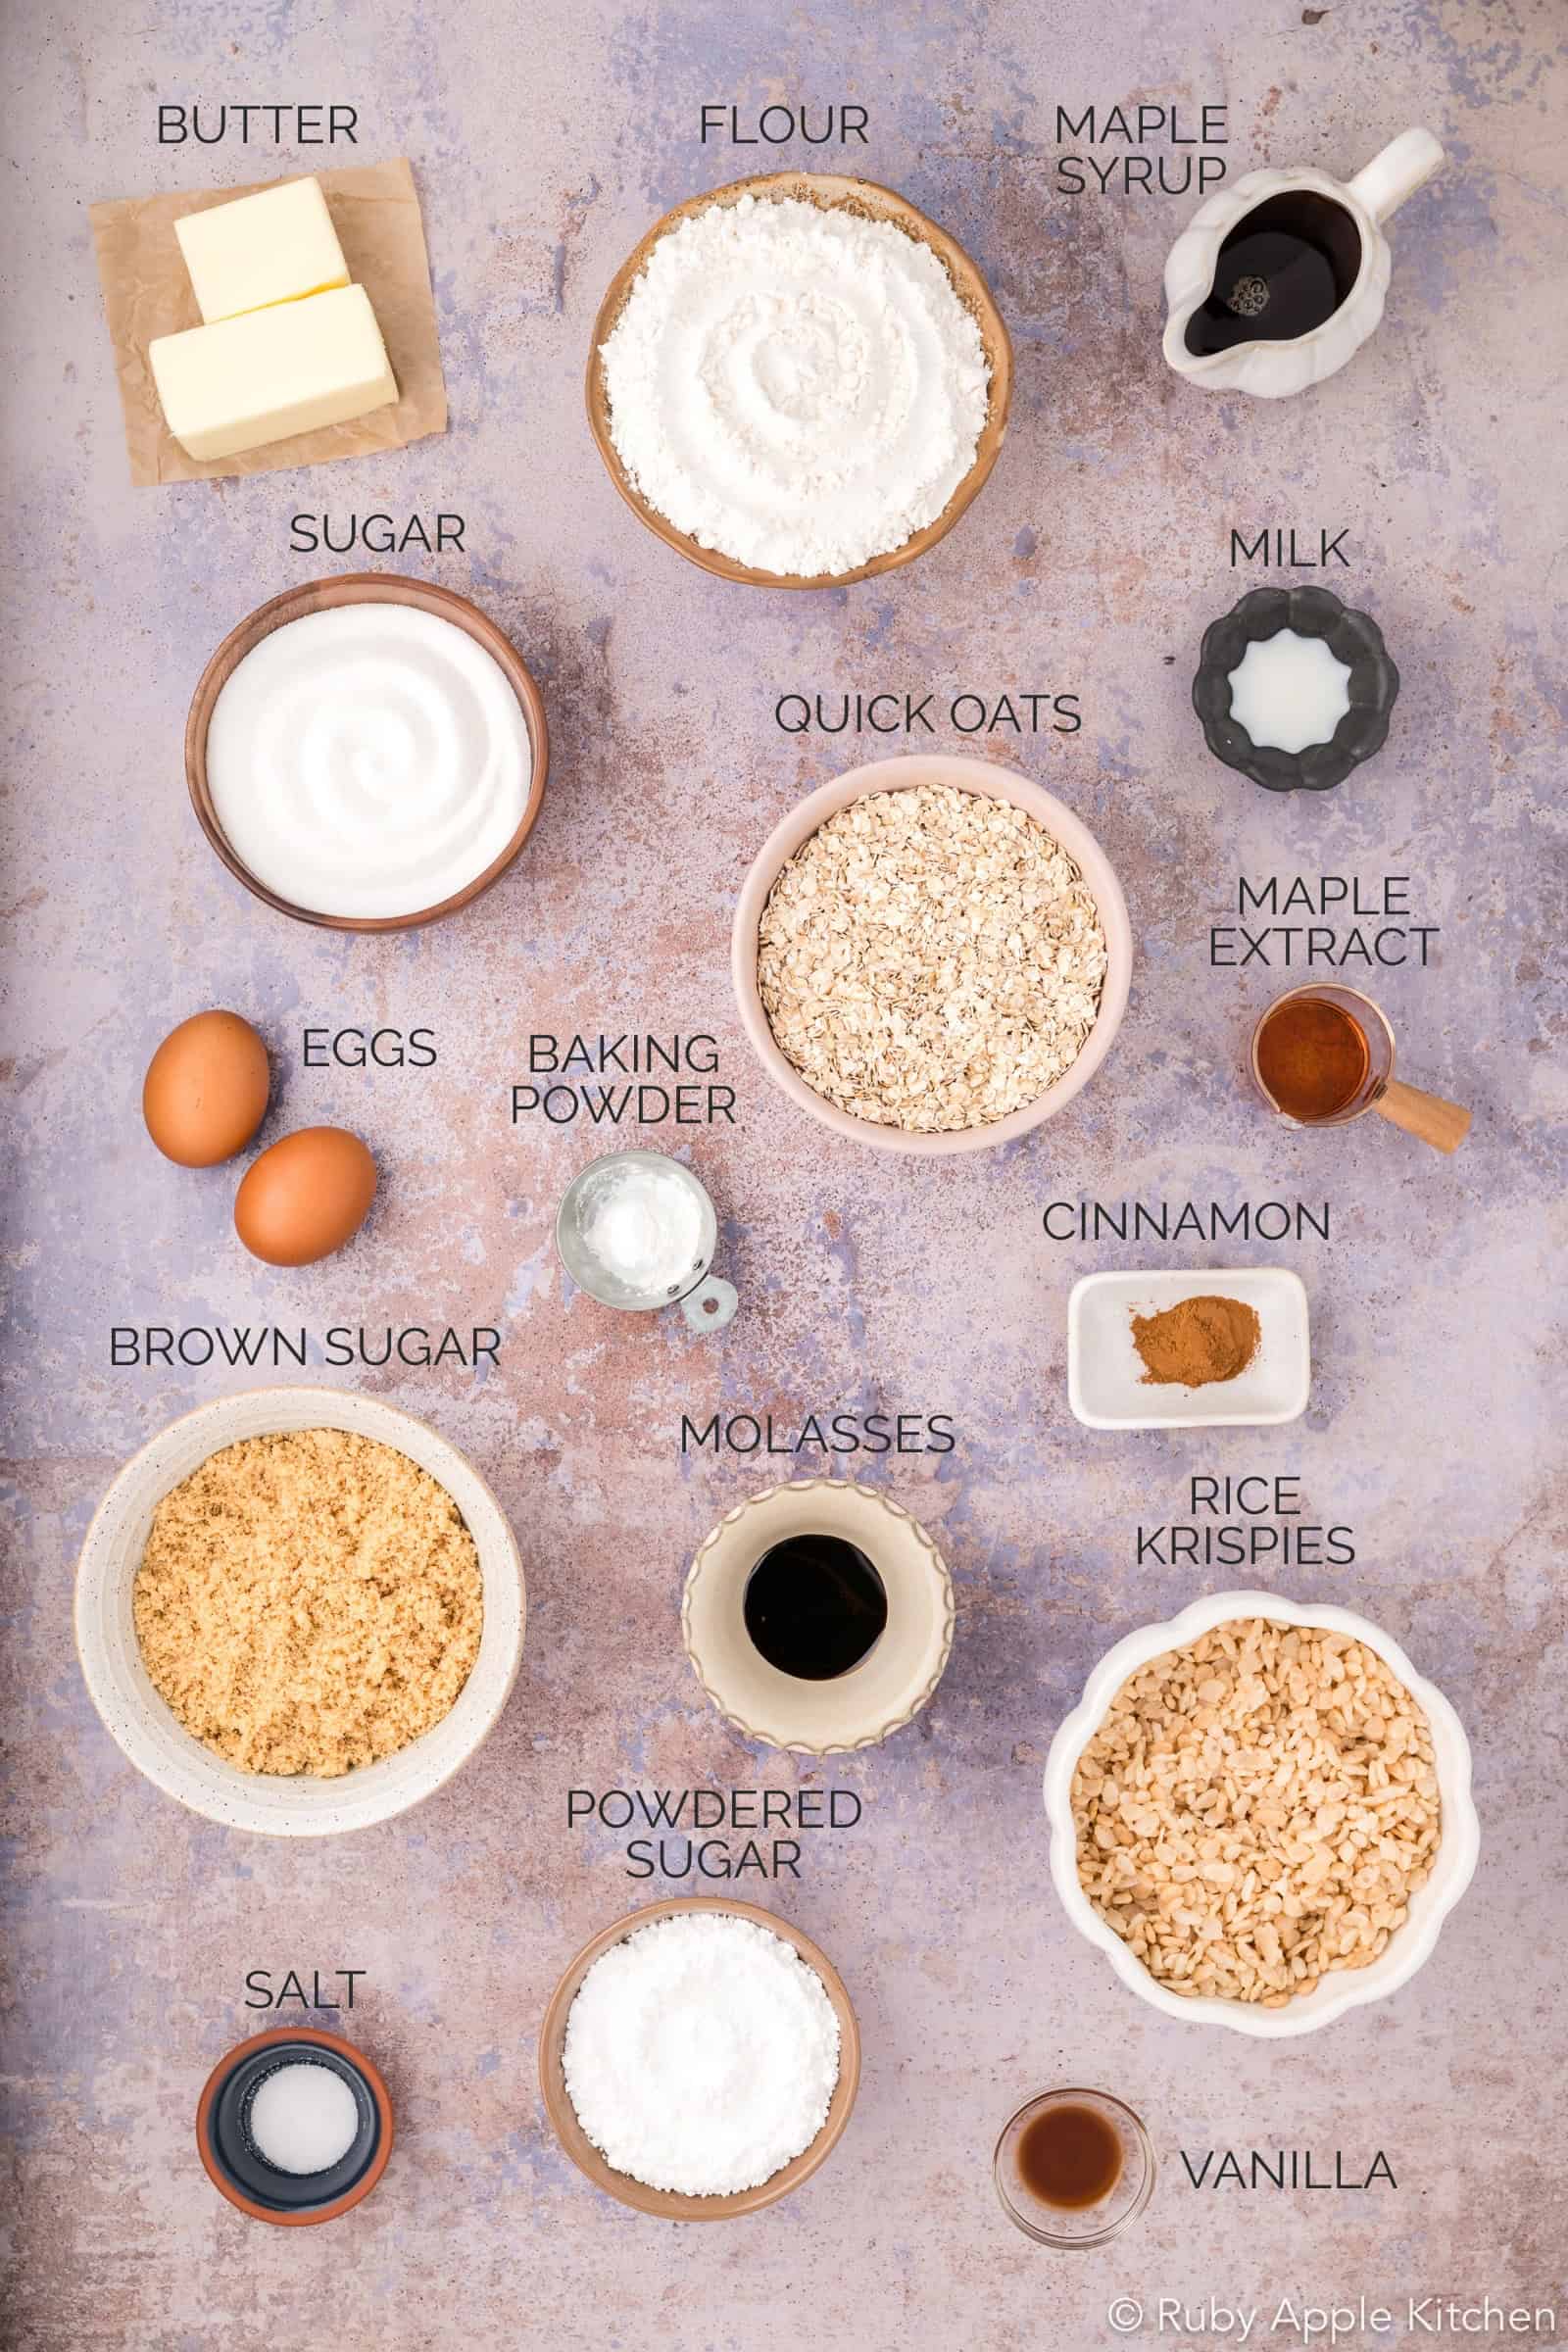
- Unsalted butter, for the cookies and optional glaze
- Granulated sugar
- Light brown sugar
- Large eggs
- Unsulphured molasses
- Maple extract, for the cookies and optional glaze
- Vanilla extract
- All-purpose flour
- Baking powder
- Fine salt
- Ground cinnamon
- Quick-cooking oats
- Crisp rice cereal, such as Rice Krispies
- Powdered sugar, for the optional maple glaze
- Pure maple syrup, for the optional maple glaze
- Milk or cream, for the optional maple glaze
See recipe card for quantities.
Altitude: I develop and test my recipes at approximately 4,850 feet elevation in Utah. This recipe has not yet been tested at lower elevation. Altitude does not affect every baked good in the same way, and I regularly make recipes developed at lower elevations without adjustments. I recommend starting with this recipe as written at other elevations and using the visual doneness cues, since spread and bake time can vary somewhat from one kitchen to another.
Equipment
I recommend light-colored aluminum baking sheets lined with parchment paper for these cookies. This combination gave me the most even baking and easiest release during testing. I also tested the cookies directly on a lightly greased aluminum pan. They spread less, browned faster, and baked thicker than I preferred, while also sticking more. For the most consistent results, use parchment. Dark or nonstick baking sheets may brown the cookies differently and may require a shorter baking time.
The recipe says 263 grams of flour because I have already done the overthinking for you.
I provide both volume and weight measurements, but I highly recommend using a digital kitchen scale whenever possible. Measuring by weight is more accurate and consistent, especially for flour, and it is one of the easiest ways to get more reliable baking results. For volume conversions, I use King Arthur Baking’s ingredient weight chart as my standard when available. If you don't have a scale, fluff the flour, gently spoon it into your measuring cup, and level it off without packing it down.
You’ll also need:
- Electric hand mixer or stand mixer fitted with the paddle attachment
- Mixing bowls
- Whisk
- Spatula
- Cookie scoop, optional but highly recommended for 30 g portions and satisfyingly consistent cookie sizes, because apparently I have strong feelings about that.
- Parchment paper
- Wire cooling rack
Instructions
Make the Cookie Dough
Preheat the oven: Position a rack in the center of the oven and preheat to 375°F. Line a light-colored aluminum baking sheet with parchment paper.
Hint: Use cool room-temperature butter, around 65°F. It should make a slight dent when pressed with a finger but still feel firm, not shiny or greasy. Butter that is too warm can cause the cookies to spread more.
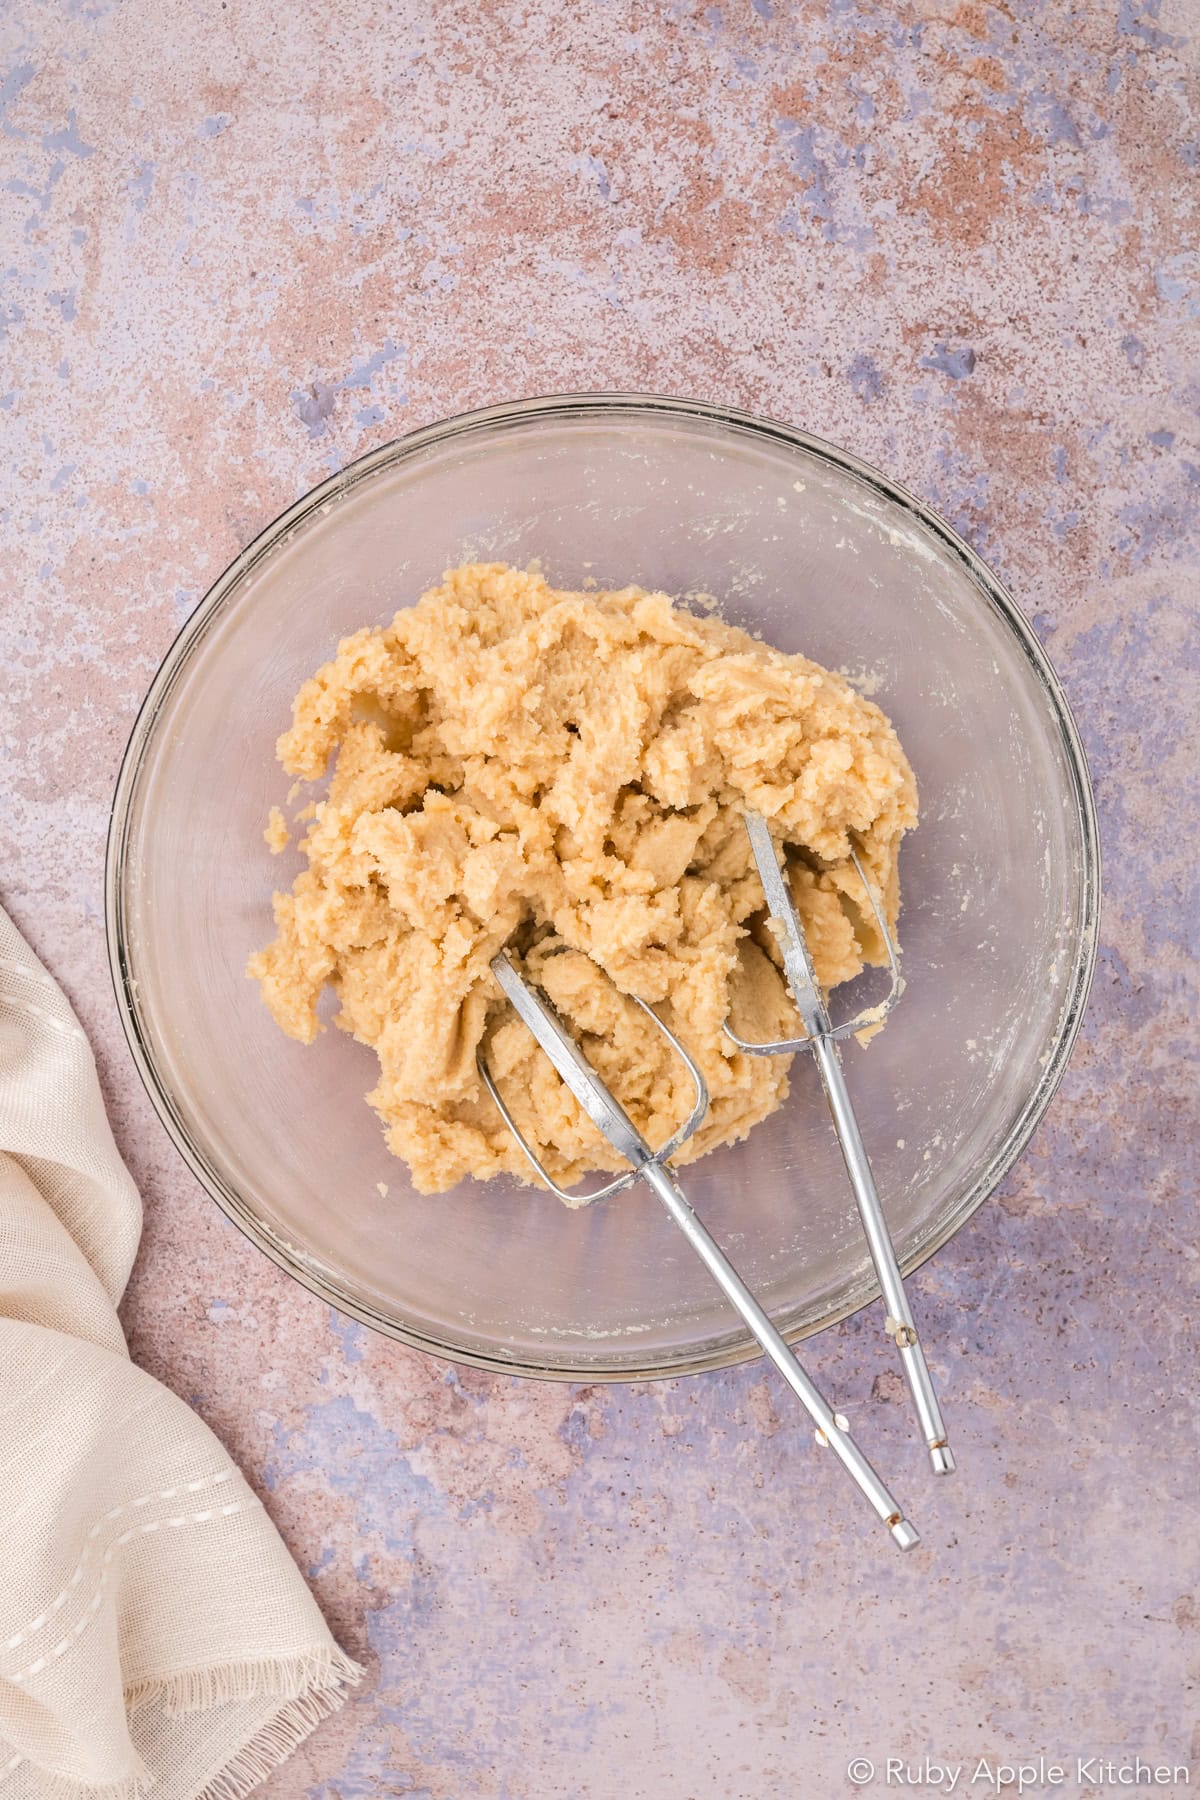
- Cream the butter and sugars: Beat the butter, granulated sugar, and brown sugar on low to medium-low speed for about 2–3 minutes, until creamy, cohesive, and slightly lightened. The mixture will still look slightly grainy.
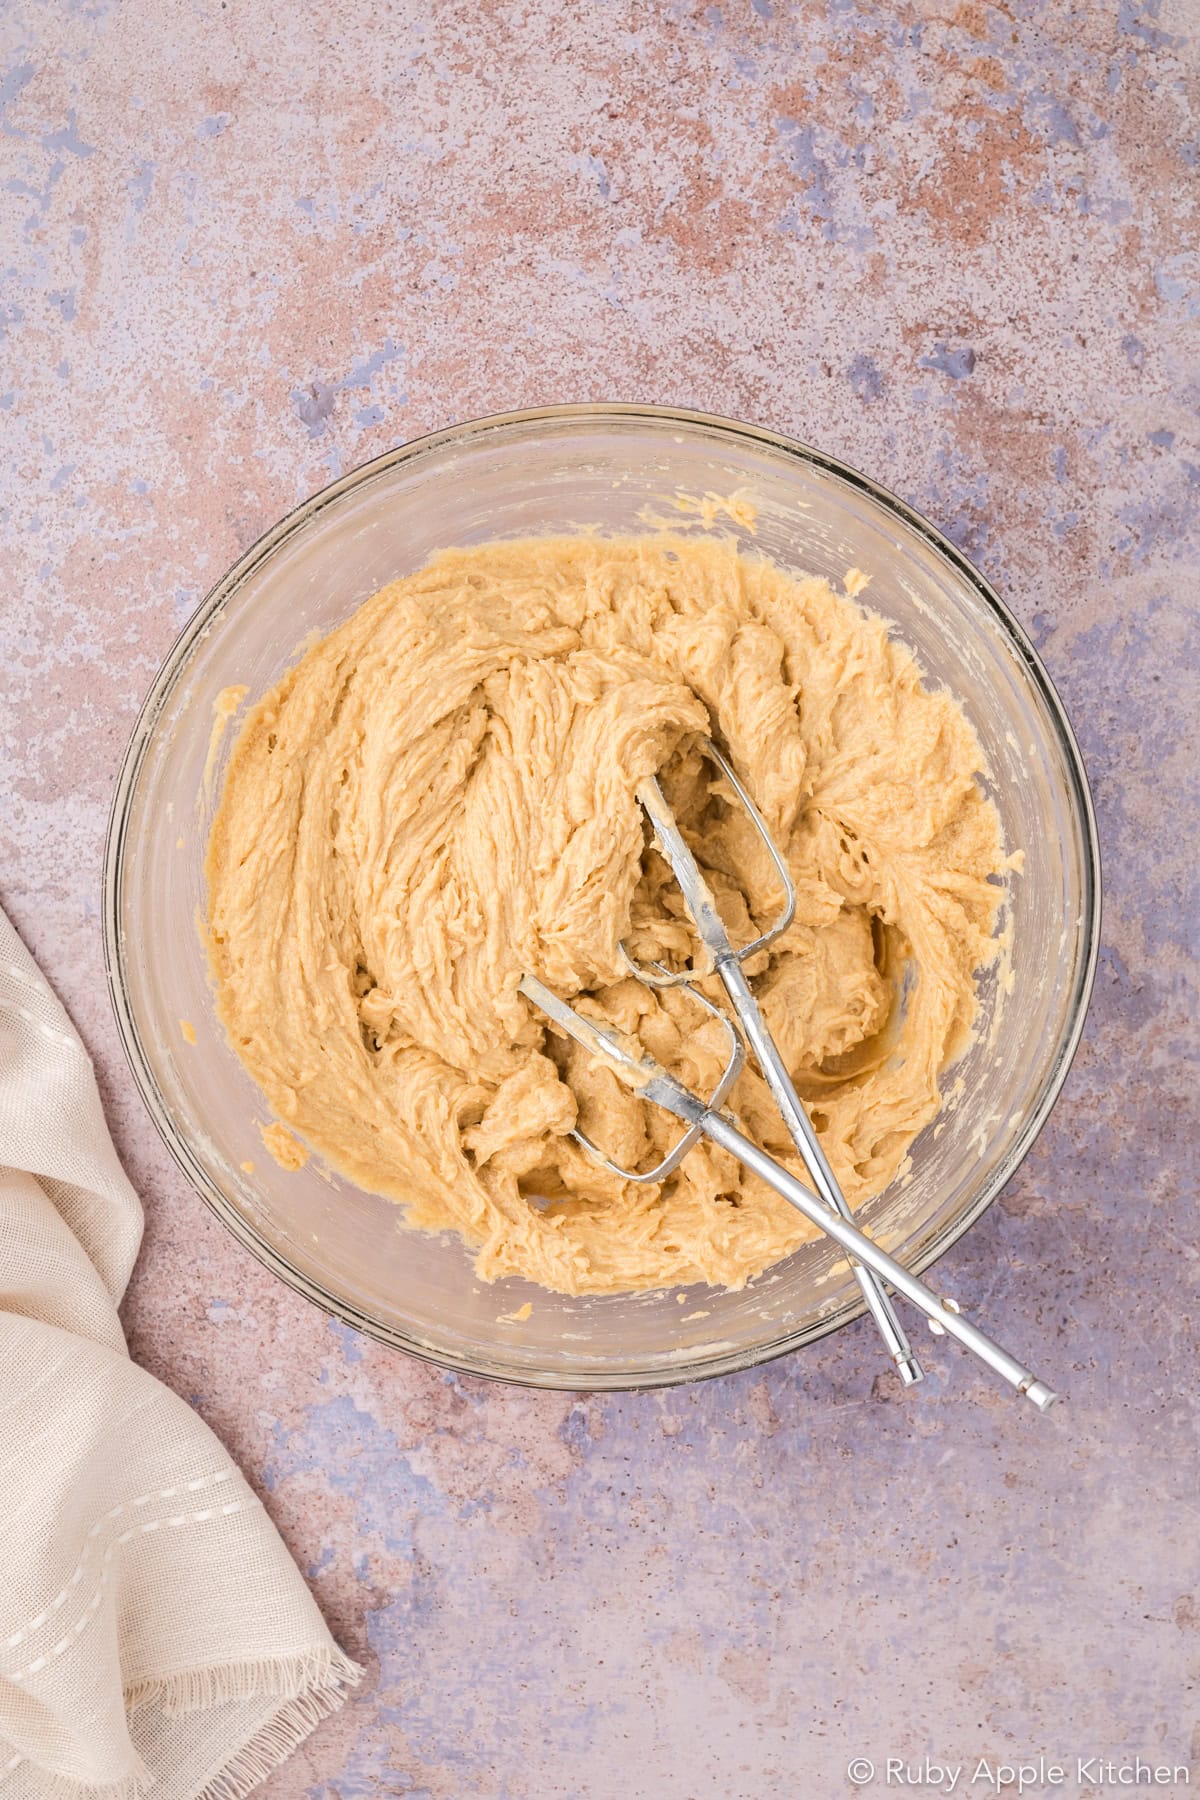
- Add the eggs and flavorings: Beat in the room-temperature eggs one at a time on low speed, mixing just until incorporated. Add the molasses, maple extract, and vanilla, then mix on low until evenly combined. Scrape the sides and bottom of the bowl well, since the molasses and extracts can pool at the bottom.
Hint: After adding the dry ingredients, the dough will look soft and quite sticky. That’s normal. The oats and cereal will help give it more structure, so there’s no need to add extra flour or chill the dough before baking. If the dough becomes unusually warm or soft while you're working, refrigerate it briefly until it firms up slightly.
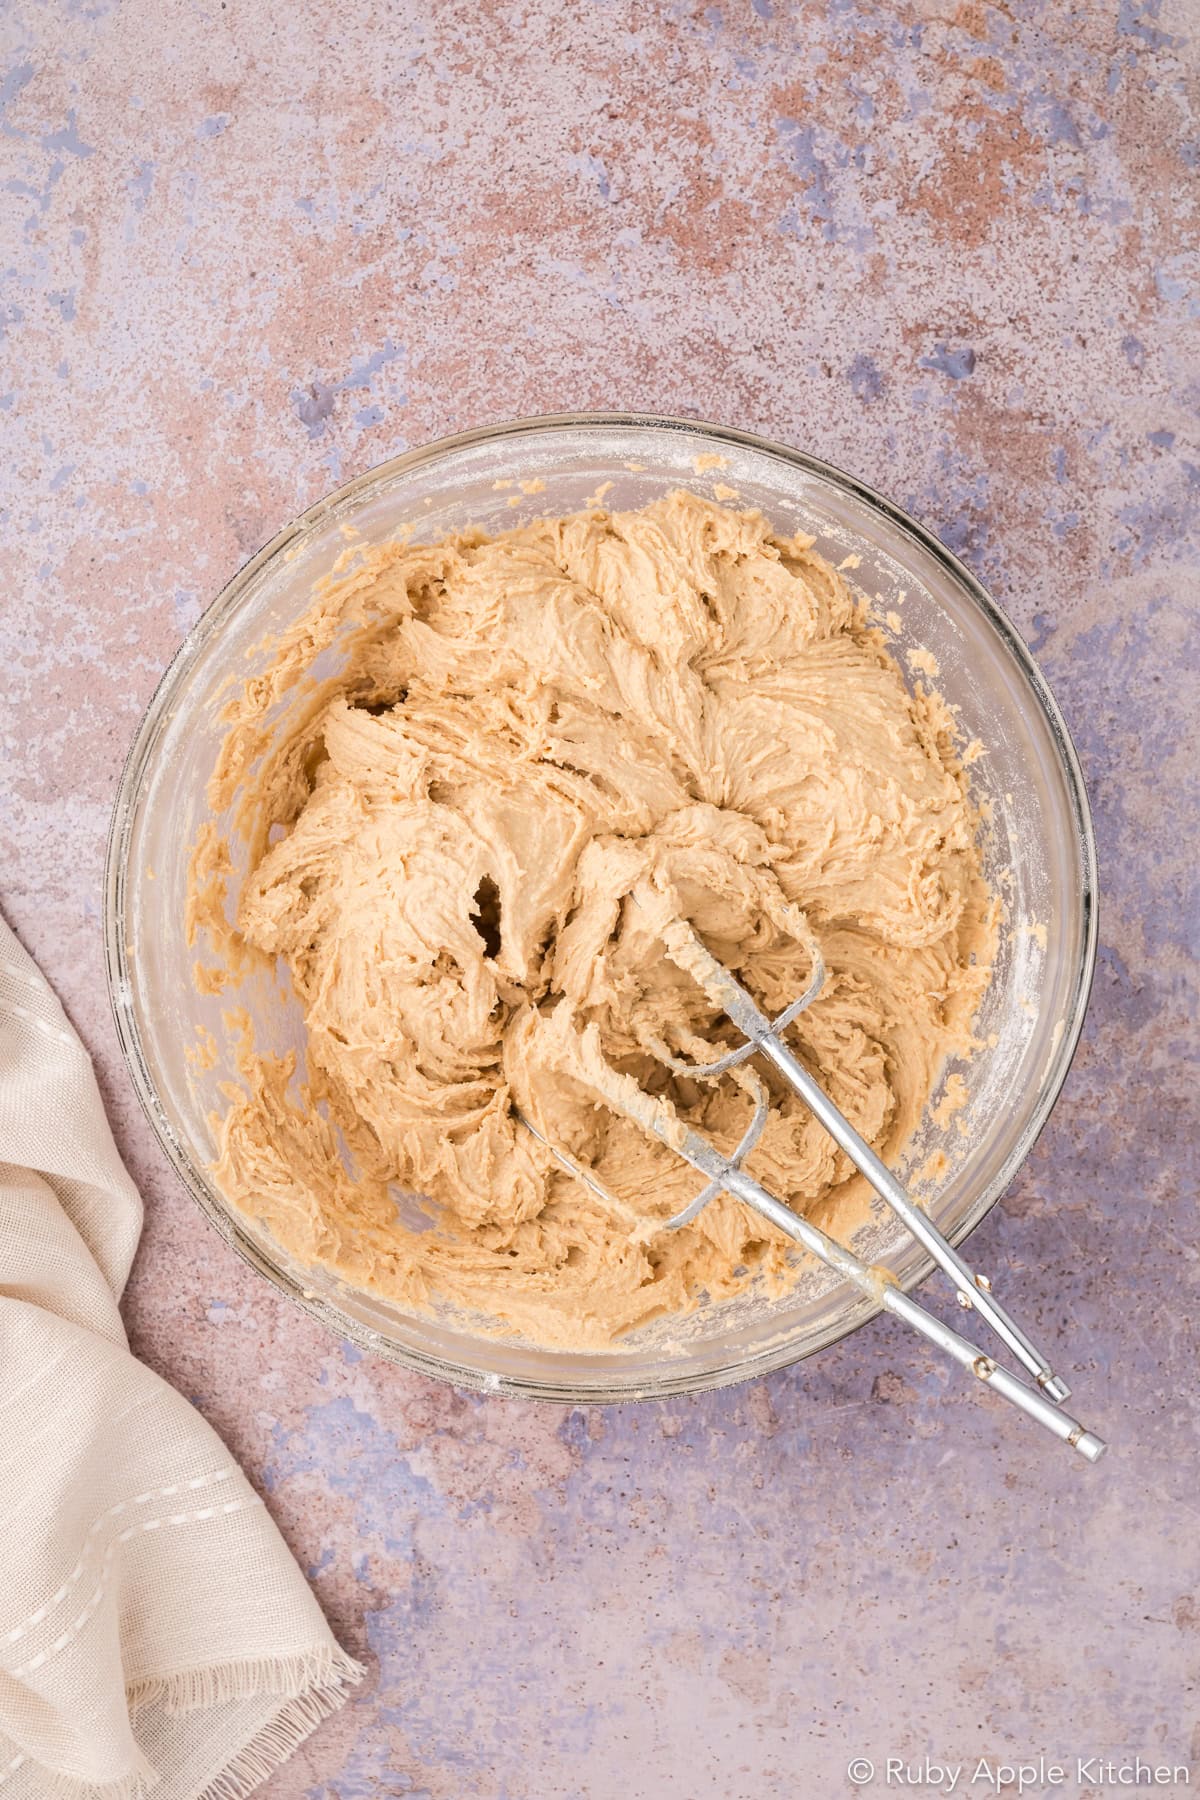
- Add the dry ingredients: In a separate bowl, whisk together the flour, baking powder, salt, and cinnamon. Add the dry ingredients to the butter mixture and mix on low speed just until no dry streaks of flour remain.
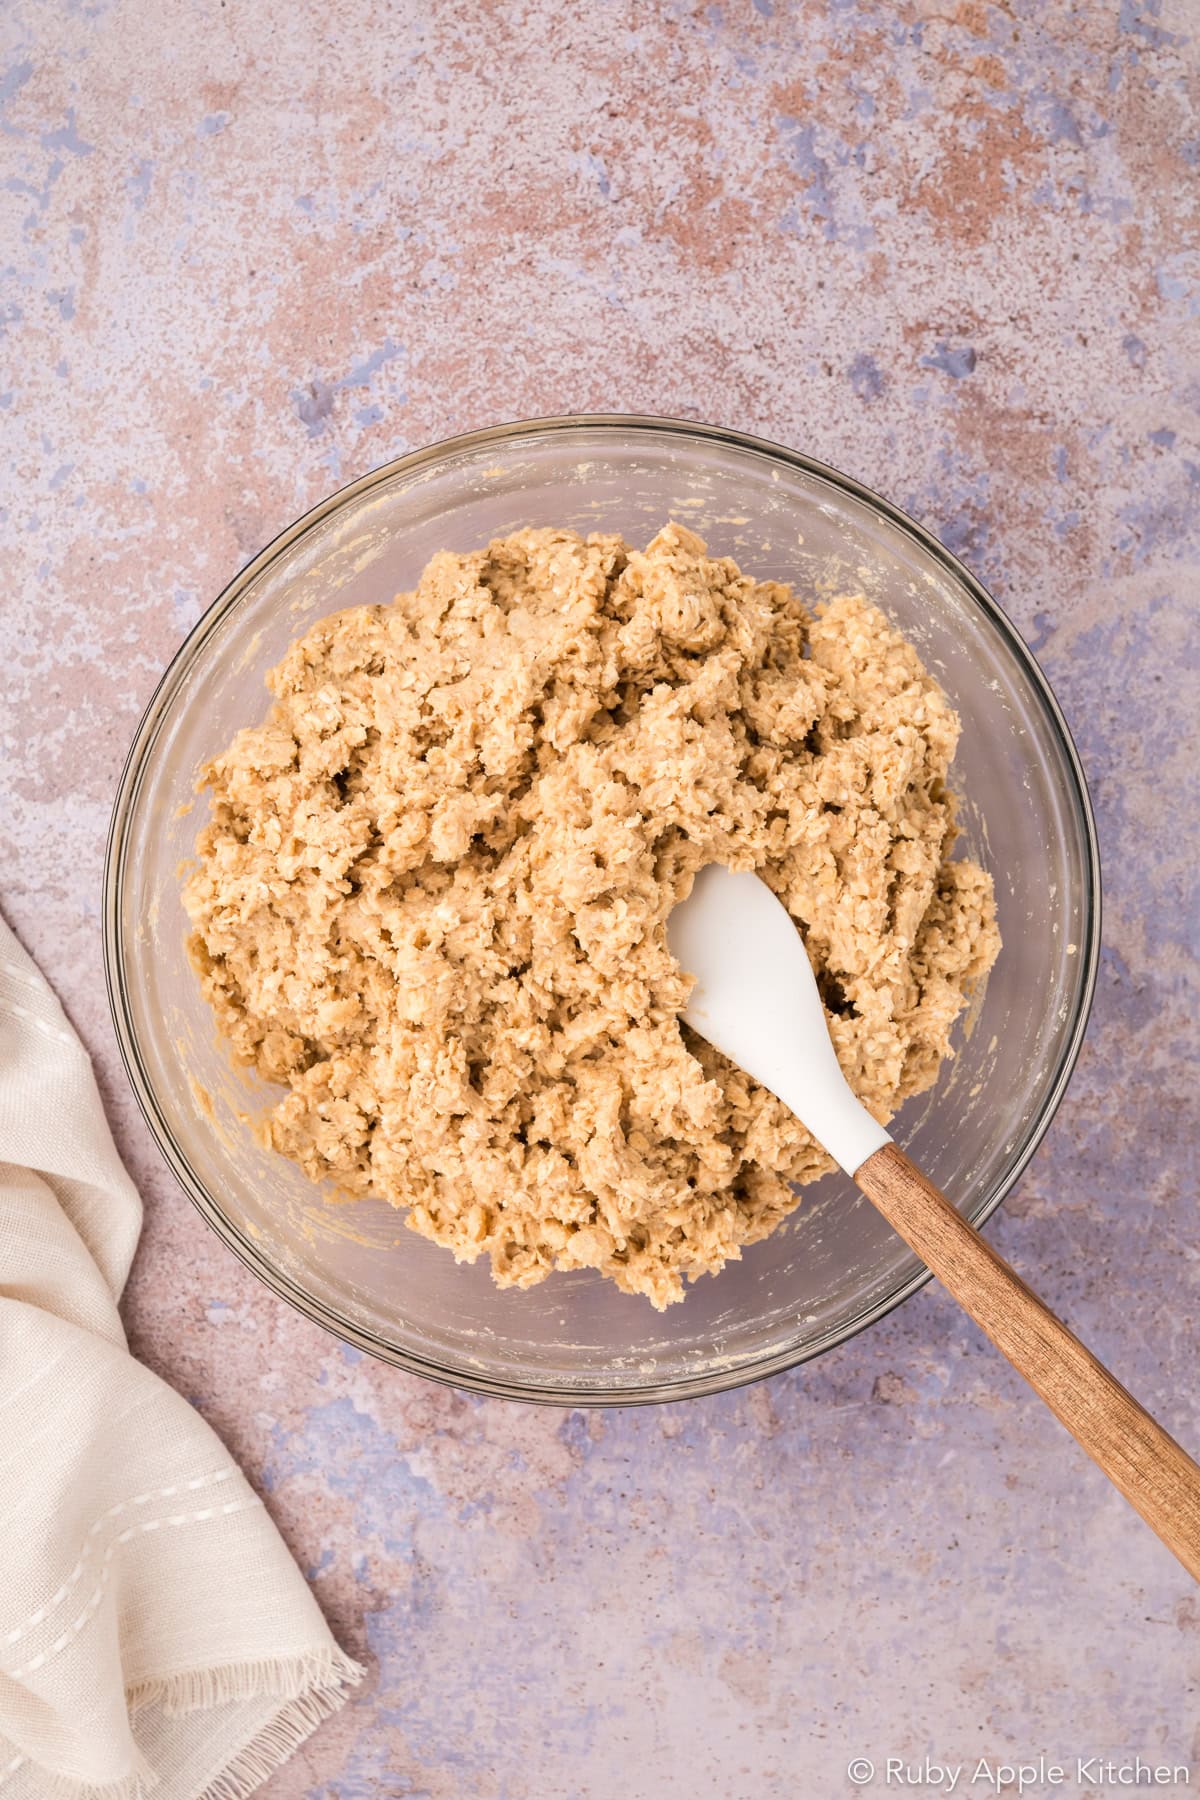
- Fold in the oats and cereal: Add the quick-cooking oats and crisp rice cereal. Fold gently with a spatula until evenly distributed, taking care not to crush the cereal.
Scoop and Bake
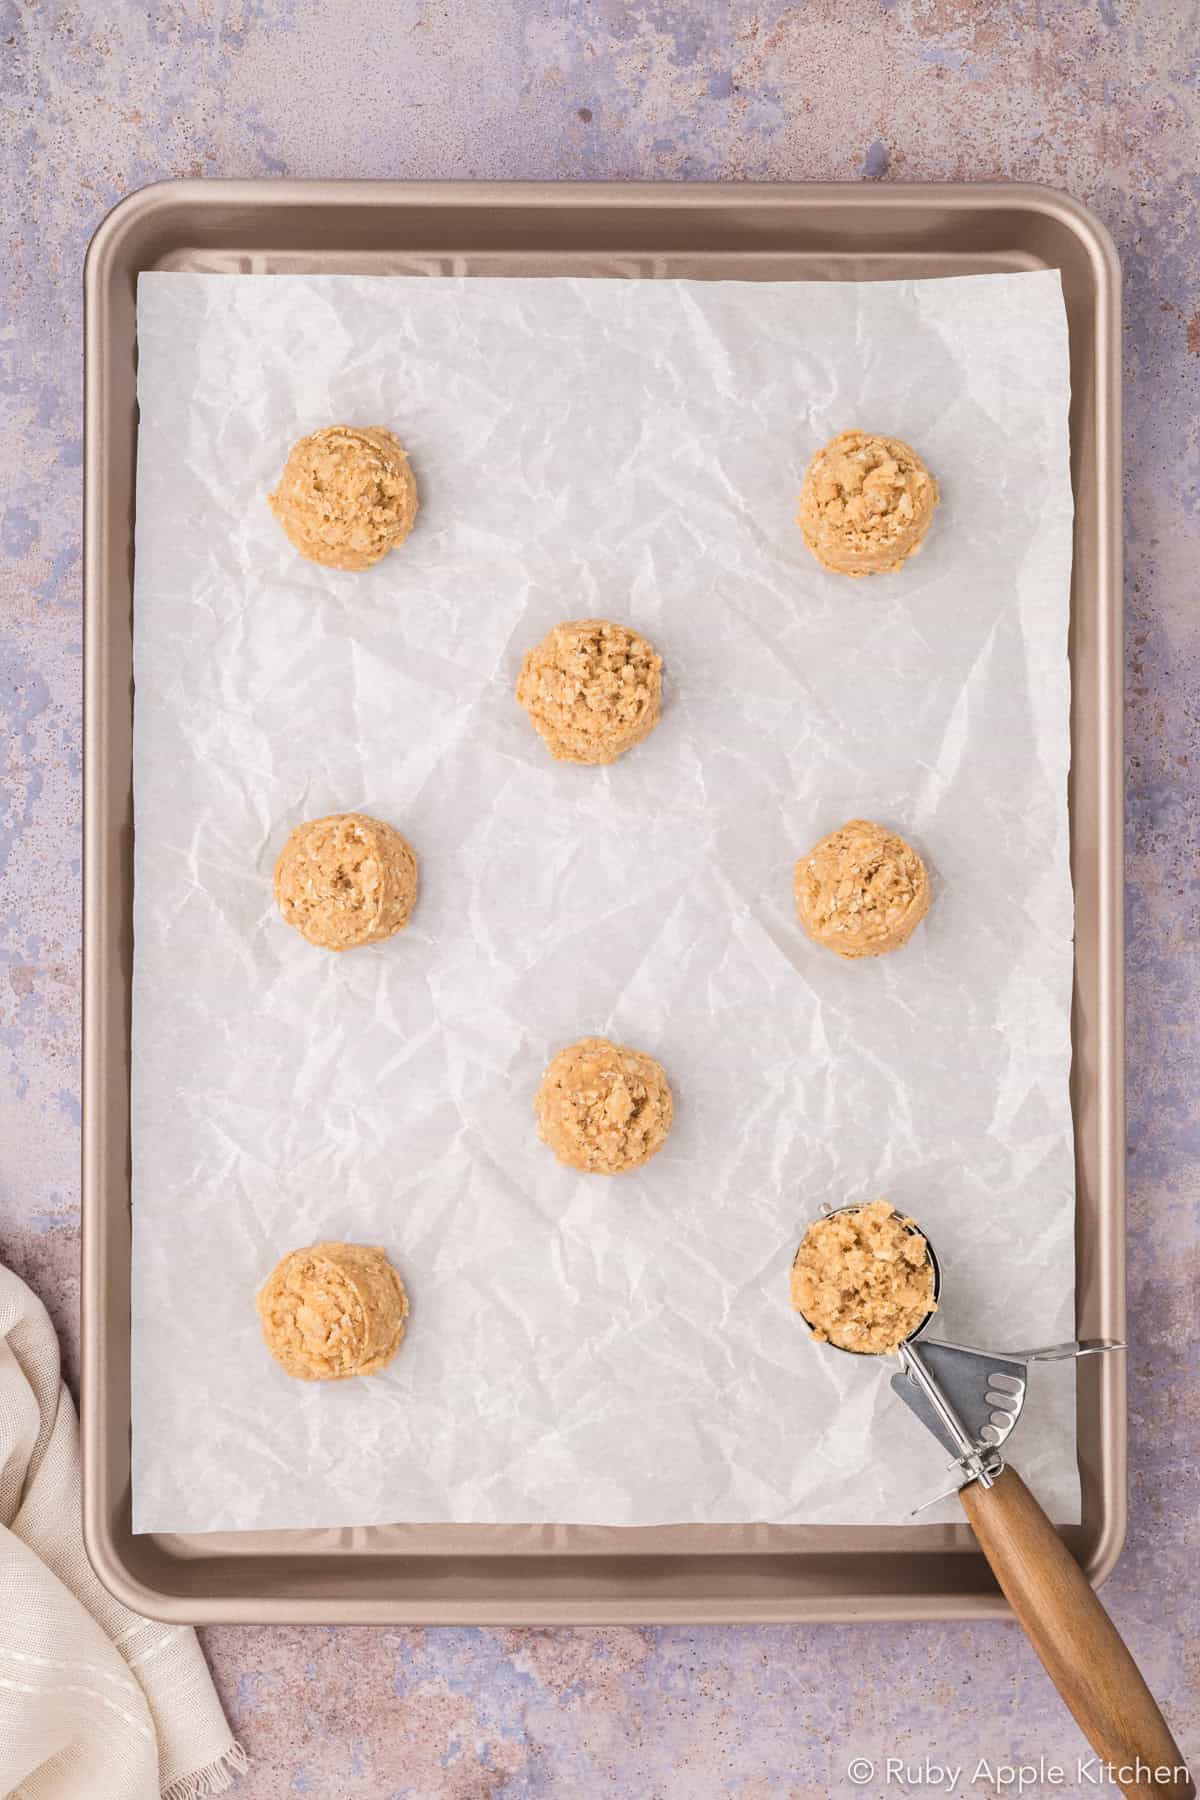
- Portion the cookie dough: Scoop into 30 g portions, about 2 tablespoons each. Arrange 8 cookies per lined baking sheet, leaving a few inches between them. Do not flatten; the cookies will spread as they bake.
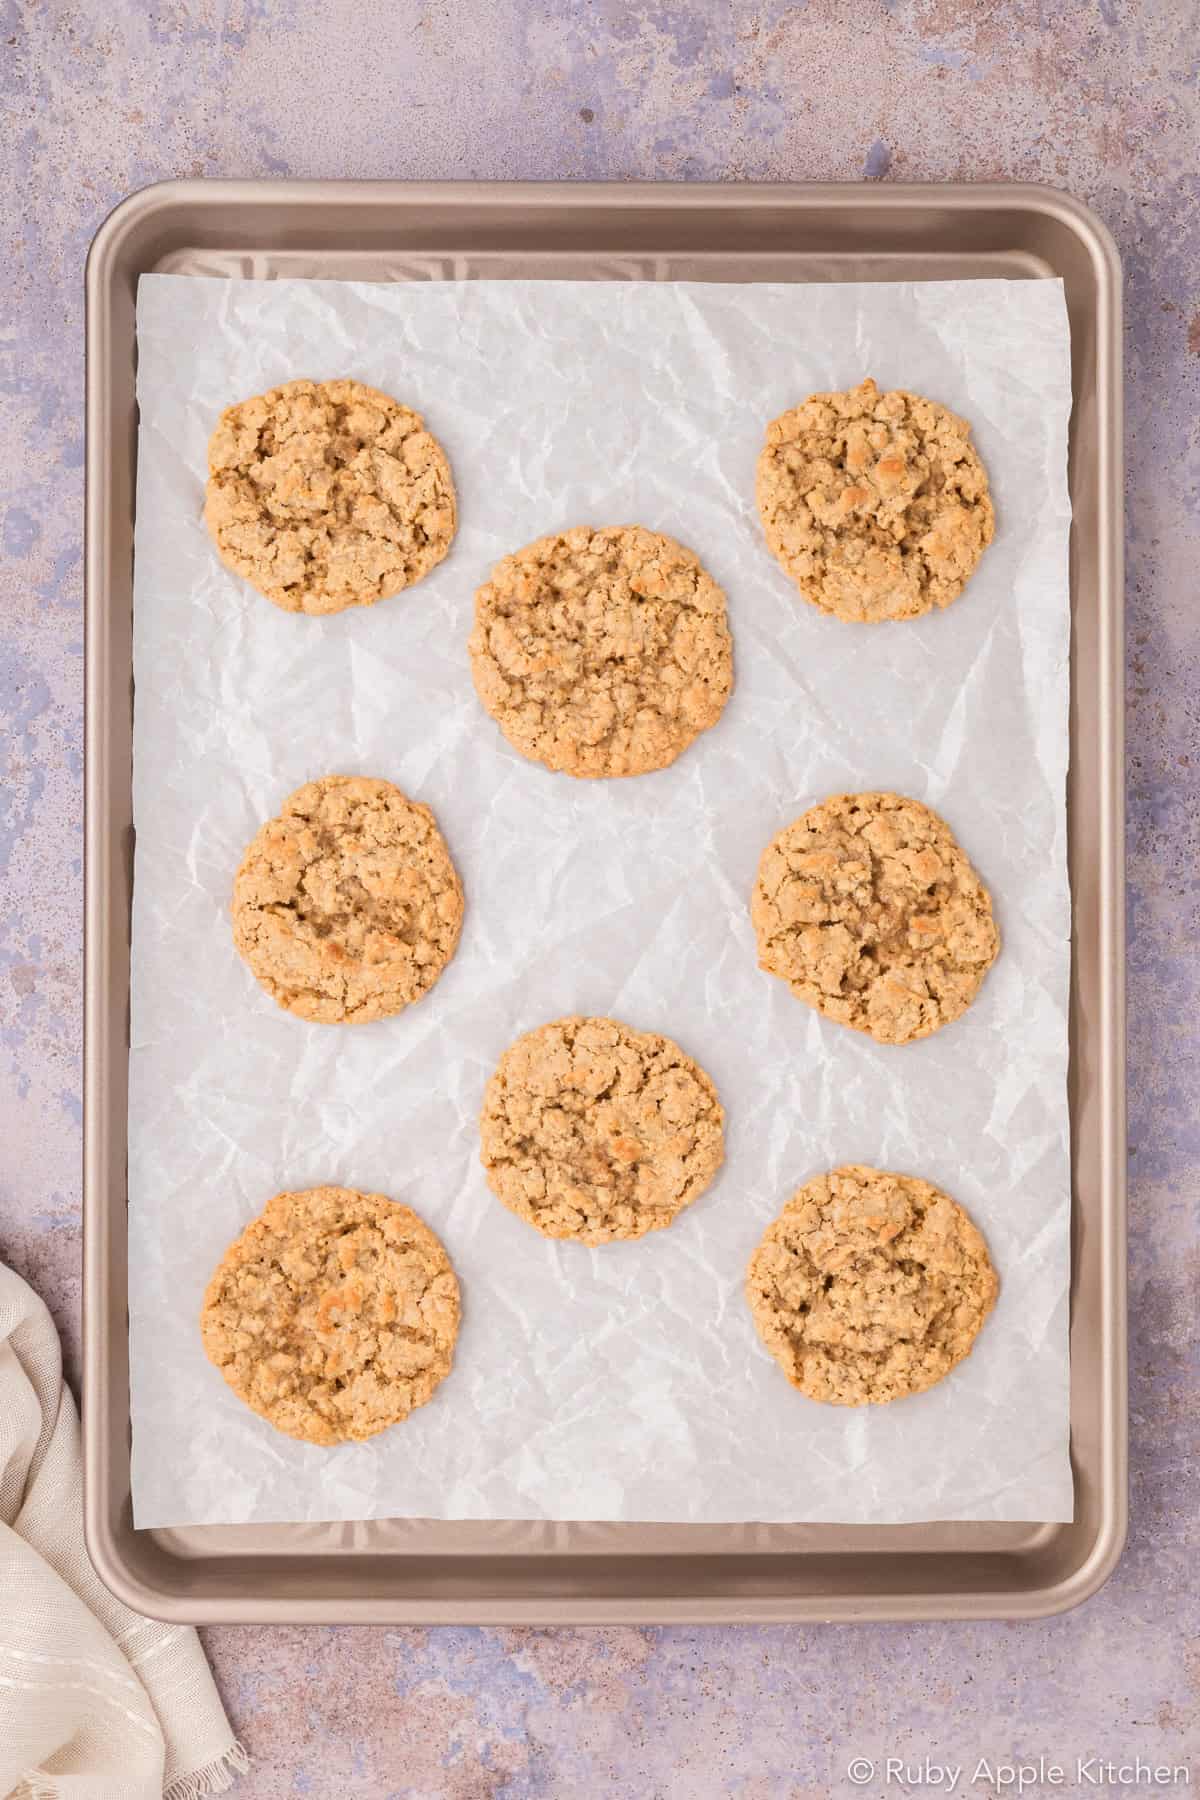
- Bake and cool: Bake one sheet at a time for about 10–11 minutes, until the edges are set and barely golden and the centers are still soft and a little paler. A little glossiness in the centers is fine, but the dough should not look wet or fluid. Cool on the baking sheet for 5–10 minutes, then transfer to a wire rack.
Top Tip
A minute can make a noticeable difference in these cookies. In my testing, 10–11 minutes has been the sweet spot, but the visual cues matter more than the clock. Let them go too far and the bottoms and edges can quickly become more browned and crisp than I want. Pull them when the edges are barely golden and the centers are still soft and a little paler.
Make the Optional Maple Glaze
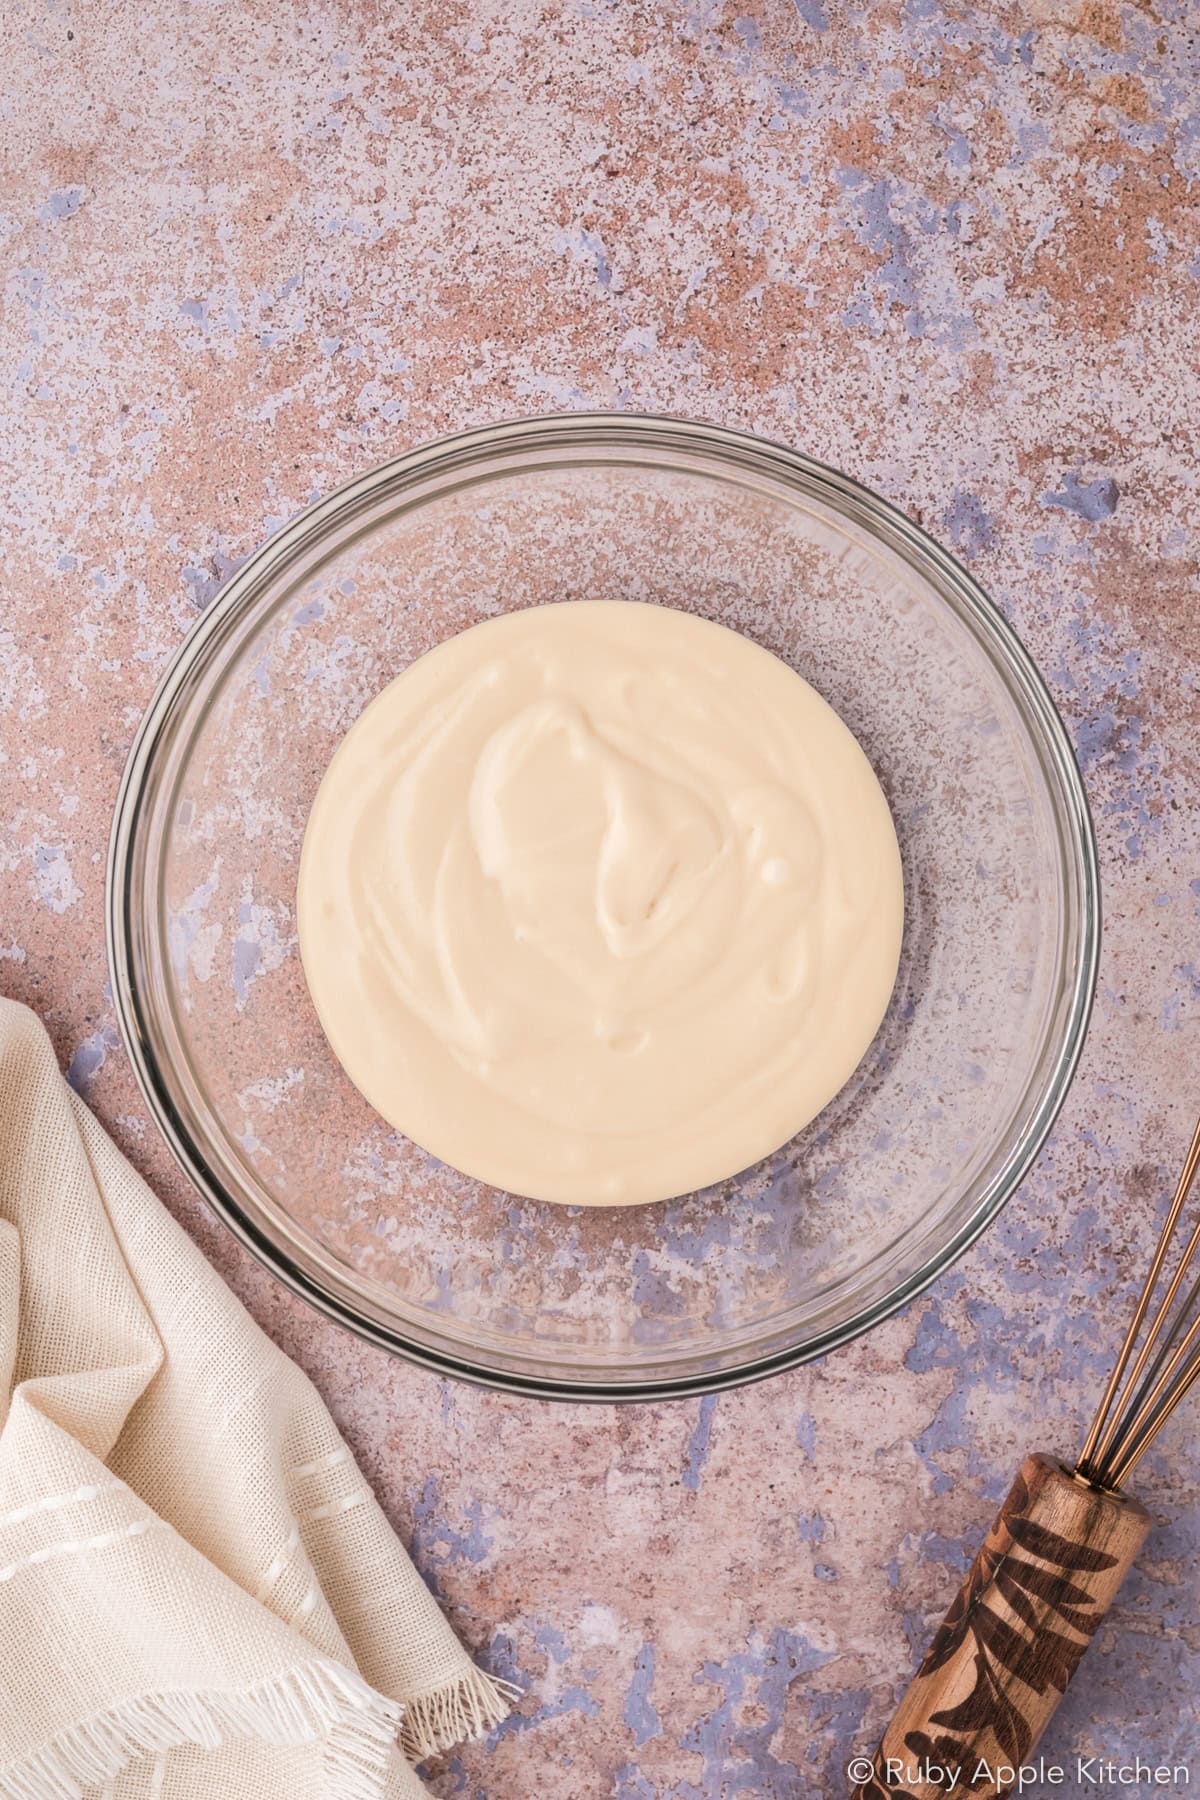
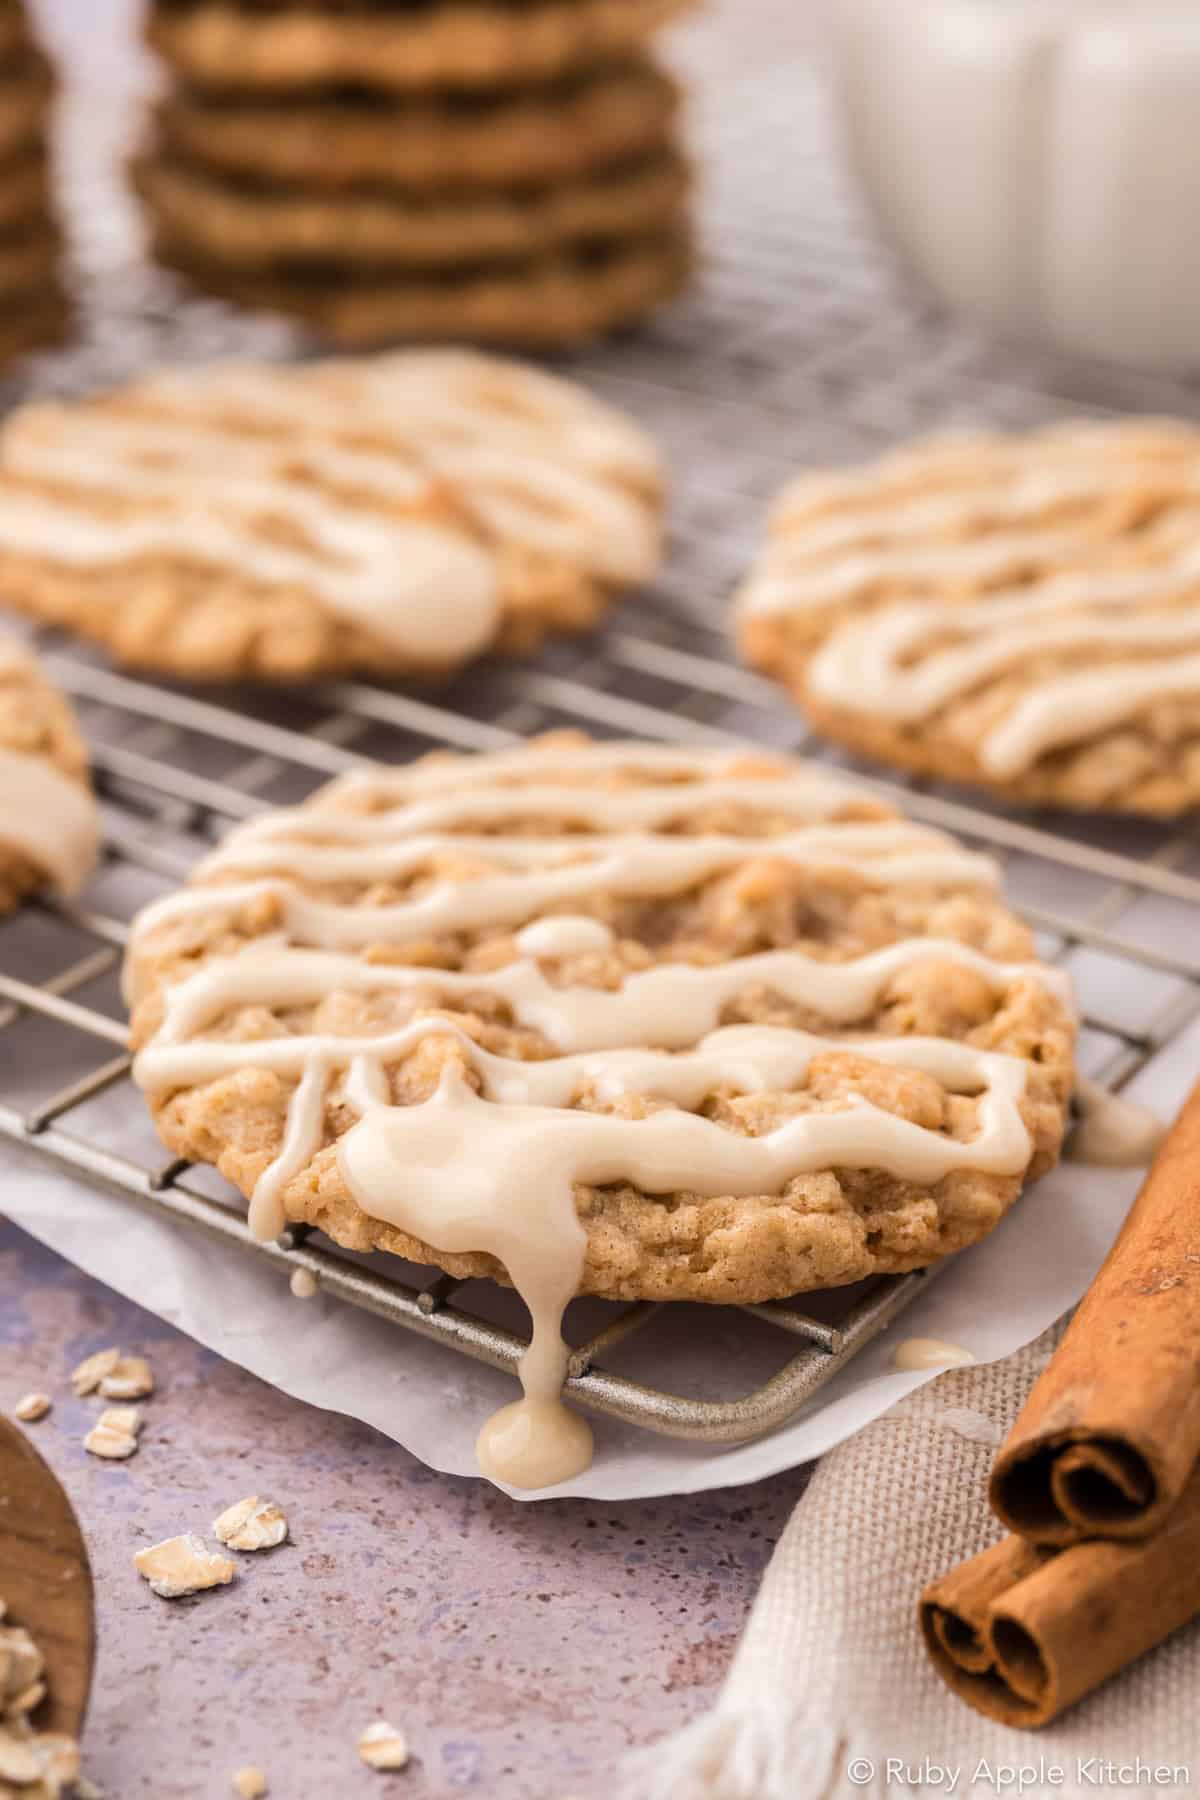
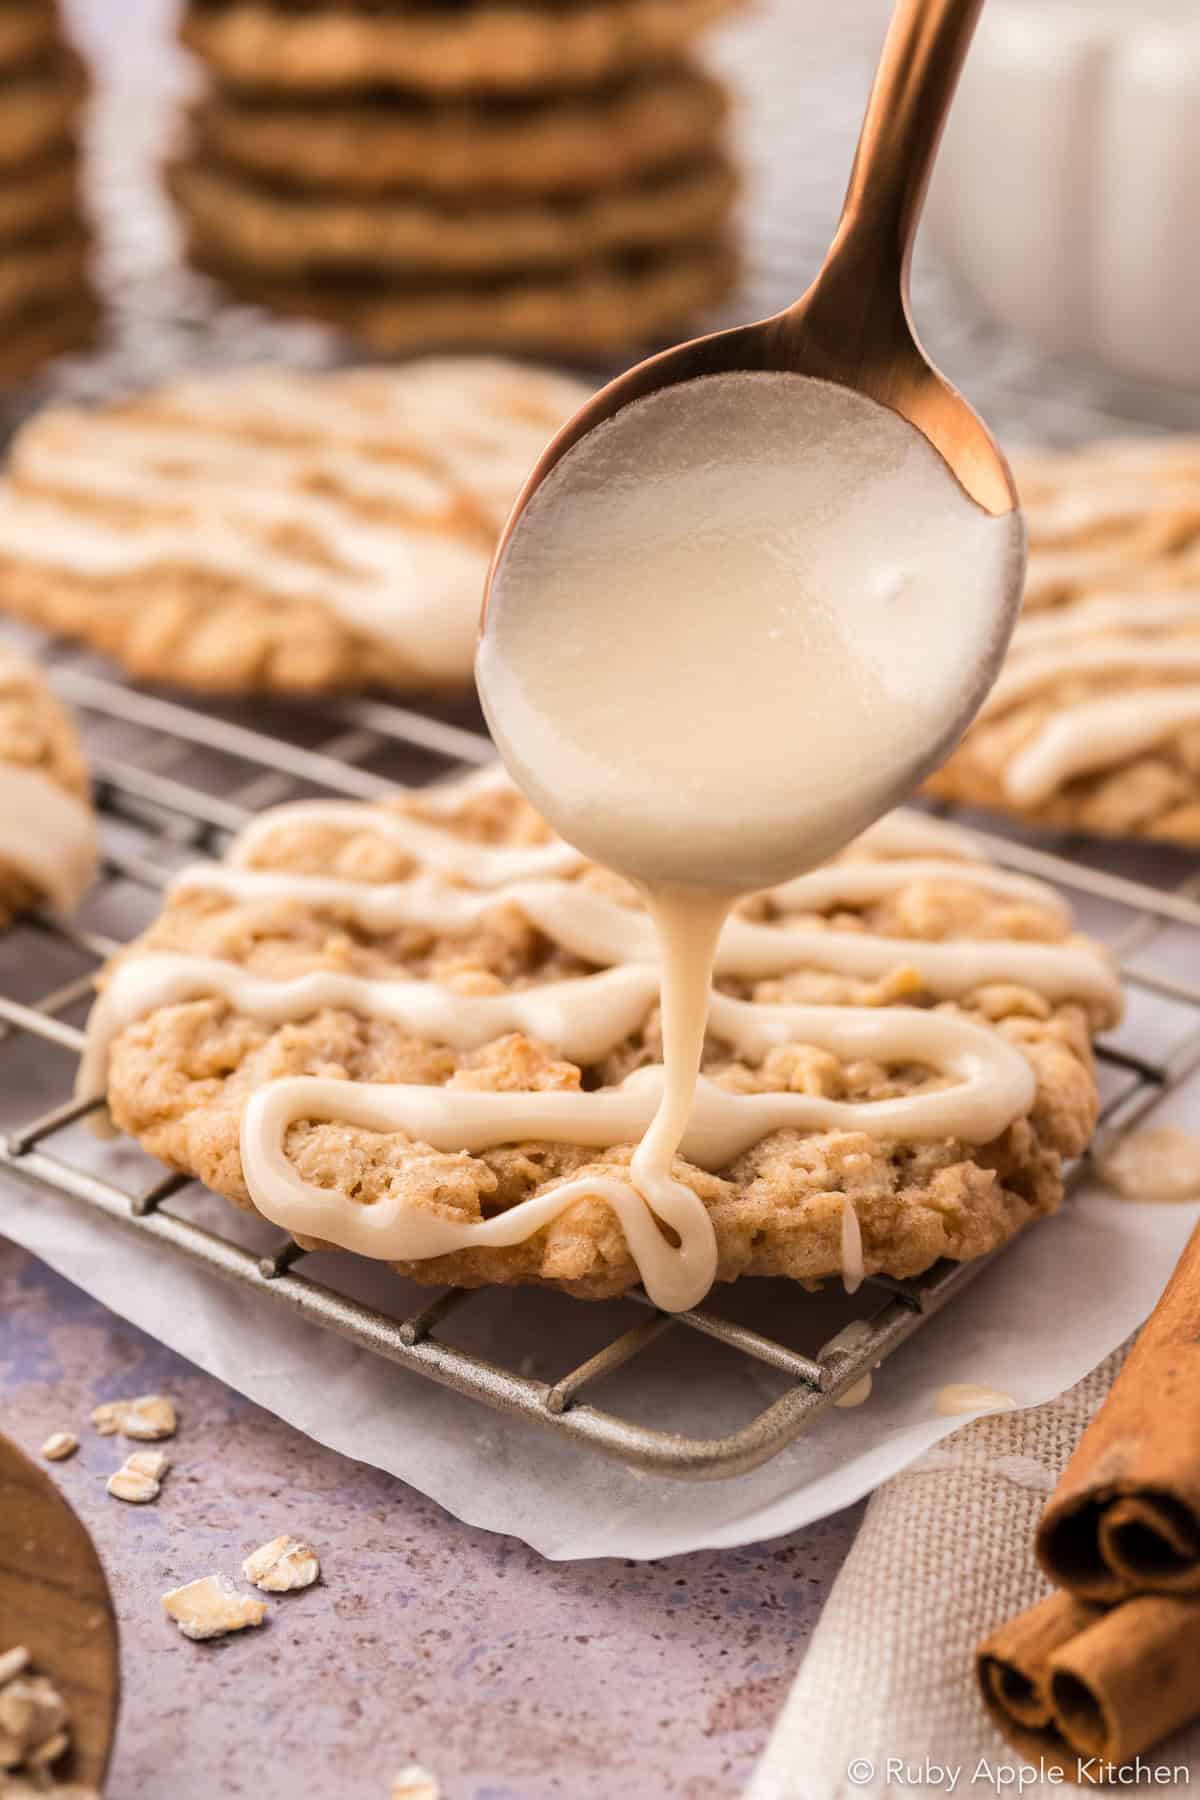
- Make the maple glaze: Whisk the melted butter, maple syrup, maple extract, and salt until combined. Whisk in the powdered sugar and 1½ teaspoons milk or cream until smooth. Add more milk or cream a few drops at a time if needed, until the glaze is thin enough to drizzle but thick enough to leave defined lines on the cookies.
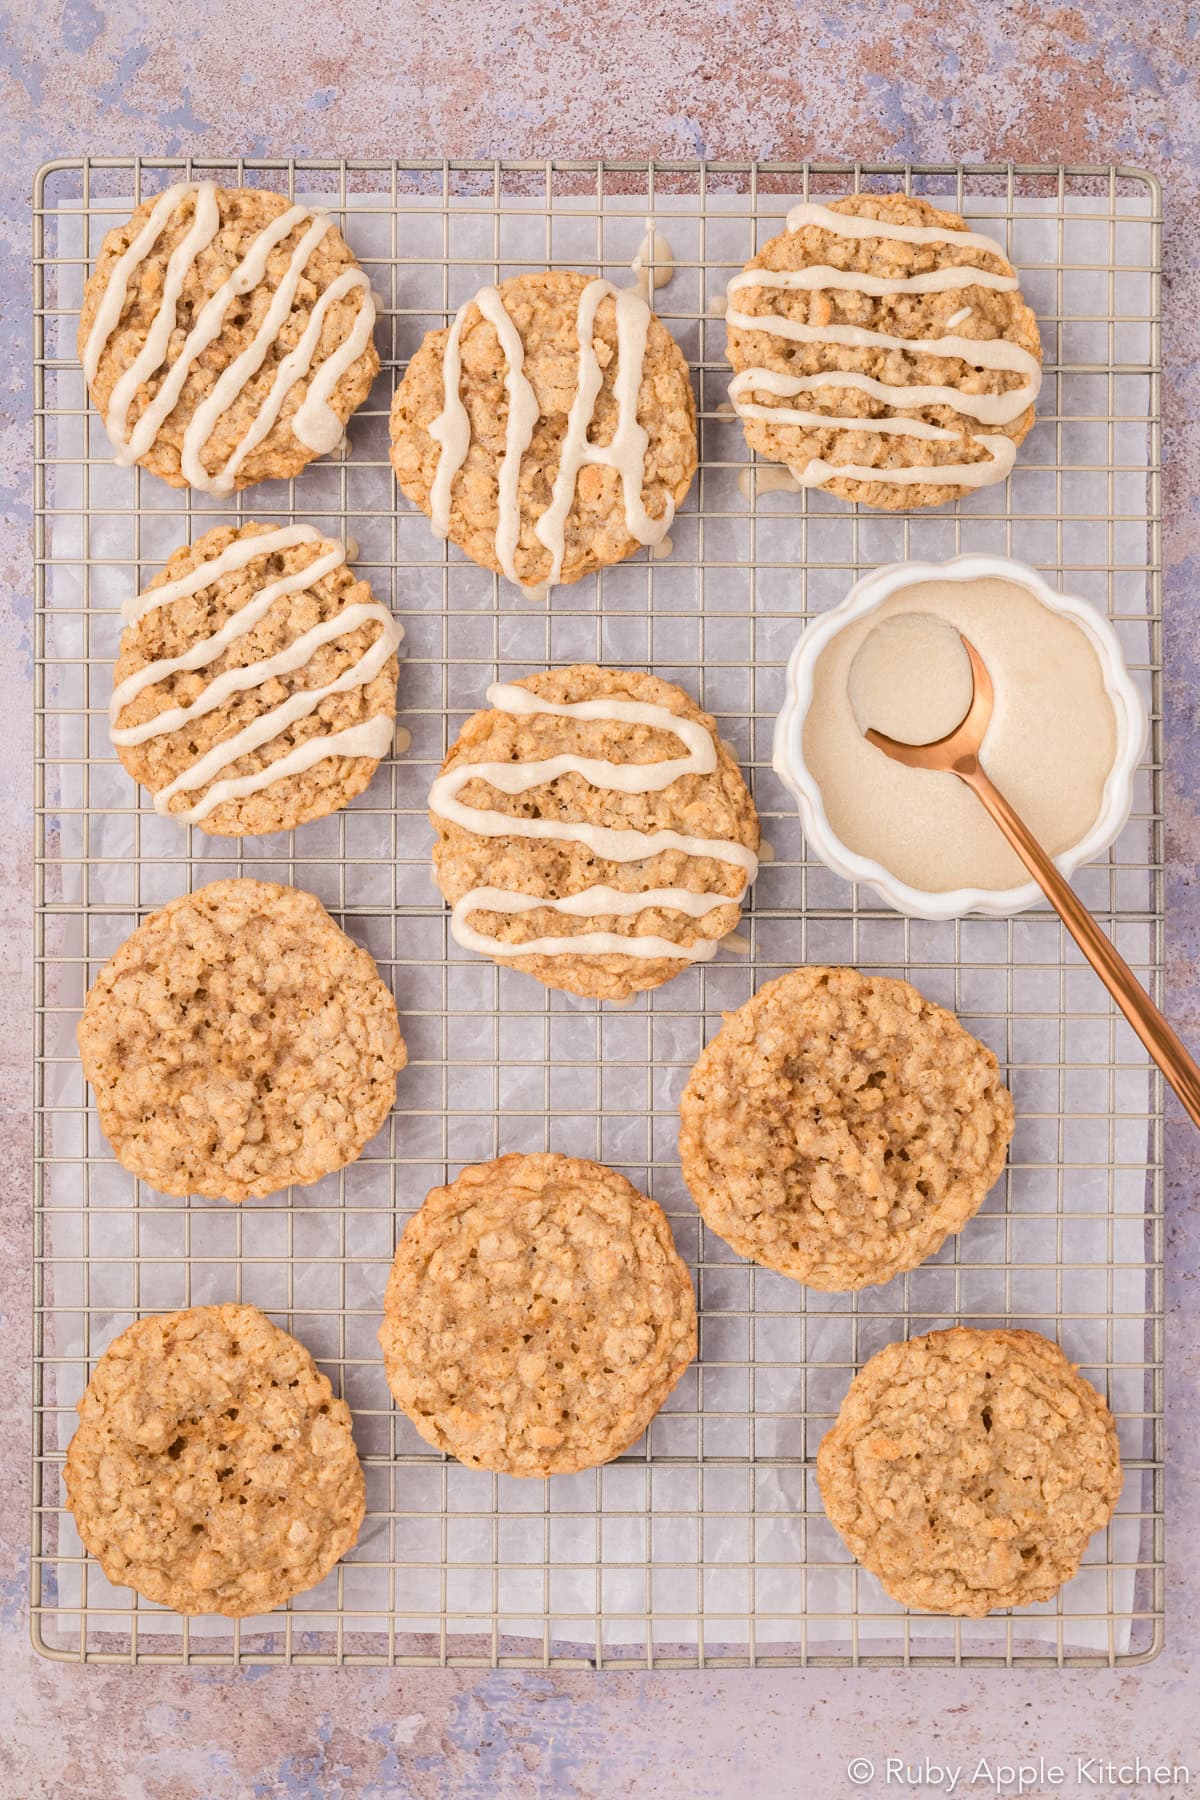
- Glaze the cookies: Once the cookies are completely cool, drizzle the glaze lightly over the tops. Let it set before serving or storing.
Substitutions
This recipe is best made as written, but a few substitutions may work if needed.
- Brown sugar: Use soft, moist light brown sugar for the most consistent results. Some organic brown sugars have a coarser, more granular texture and may behave differently in cookie dough. I haven't tested those varieties in this recipe, so I recommend conventional light brown sugar. Dark brown sugar may also work, but it will give the cookies a stronger molasses flavor and may affect the texture.
- Old-fashioned oats: I developed and tested these cookies with quick-cooking oats. Old-fashioned oats may also work, but I haven’t tested them in this recipe. They may give the cookies a heartier oat texture and somewhat different spread and chew.
- Other crisp rice cereal: I tested the recipe with Rice Krispies, but another plain crisp rice cereal should work similarly. For the closest result, I’d choose a plain, unflavored variety.
- Molasses: Regular unsulphured molasses works best here. I wouldn’t use blackstrap, which has a much stronger, more bitter flavor and would change the balance of the cookie.
- Maple flavoring: I developed this recipe with maple extract. Products labeled maple flavor or maple flavoring can vary in strength and formulation, so I can’t guarantee a 1:1 substitution.
- Maple syrup: I don’t recommend replacing the maple extract with maple syrup in the cookie dough. Maple syrup is much less concentrated and adds additional liquid and sugar, which can affect both flavor and texture.
- Salted butter: Unsalted butter gives you the most control over the salt level, but salted butter can be used if needed. Reduce the added fine salt to about ¼ teaspoon.
Variations to Try
Once you’ve made the cookies as written, there are a few ways you can change them up.
- Oatmeal cream pies: Sandwich two completely cooled cookies with a vanilla or marshmallow-style cream filling. Pair cookies of similar size for the neatest sandwiches. I haven't tested this variation yet, but I think their chewy texture would work especially well.
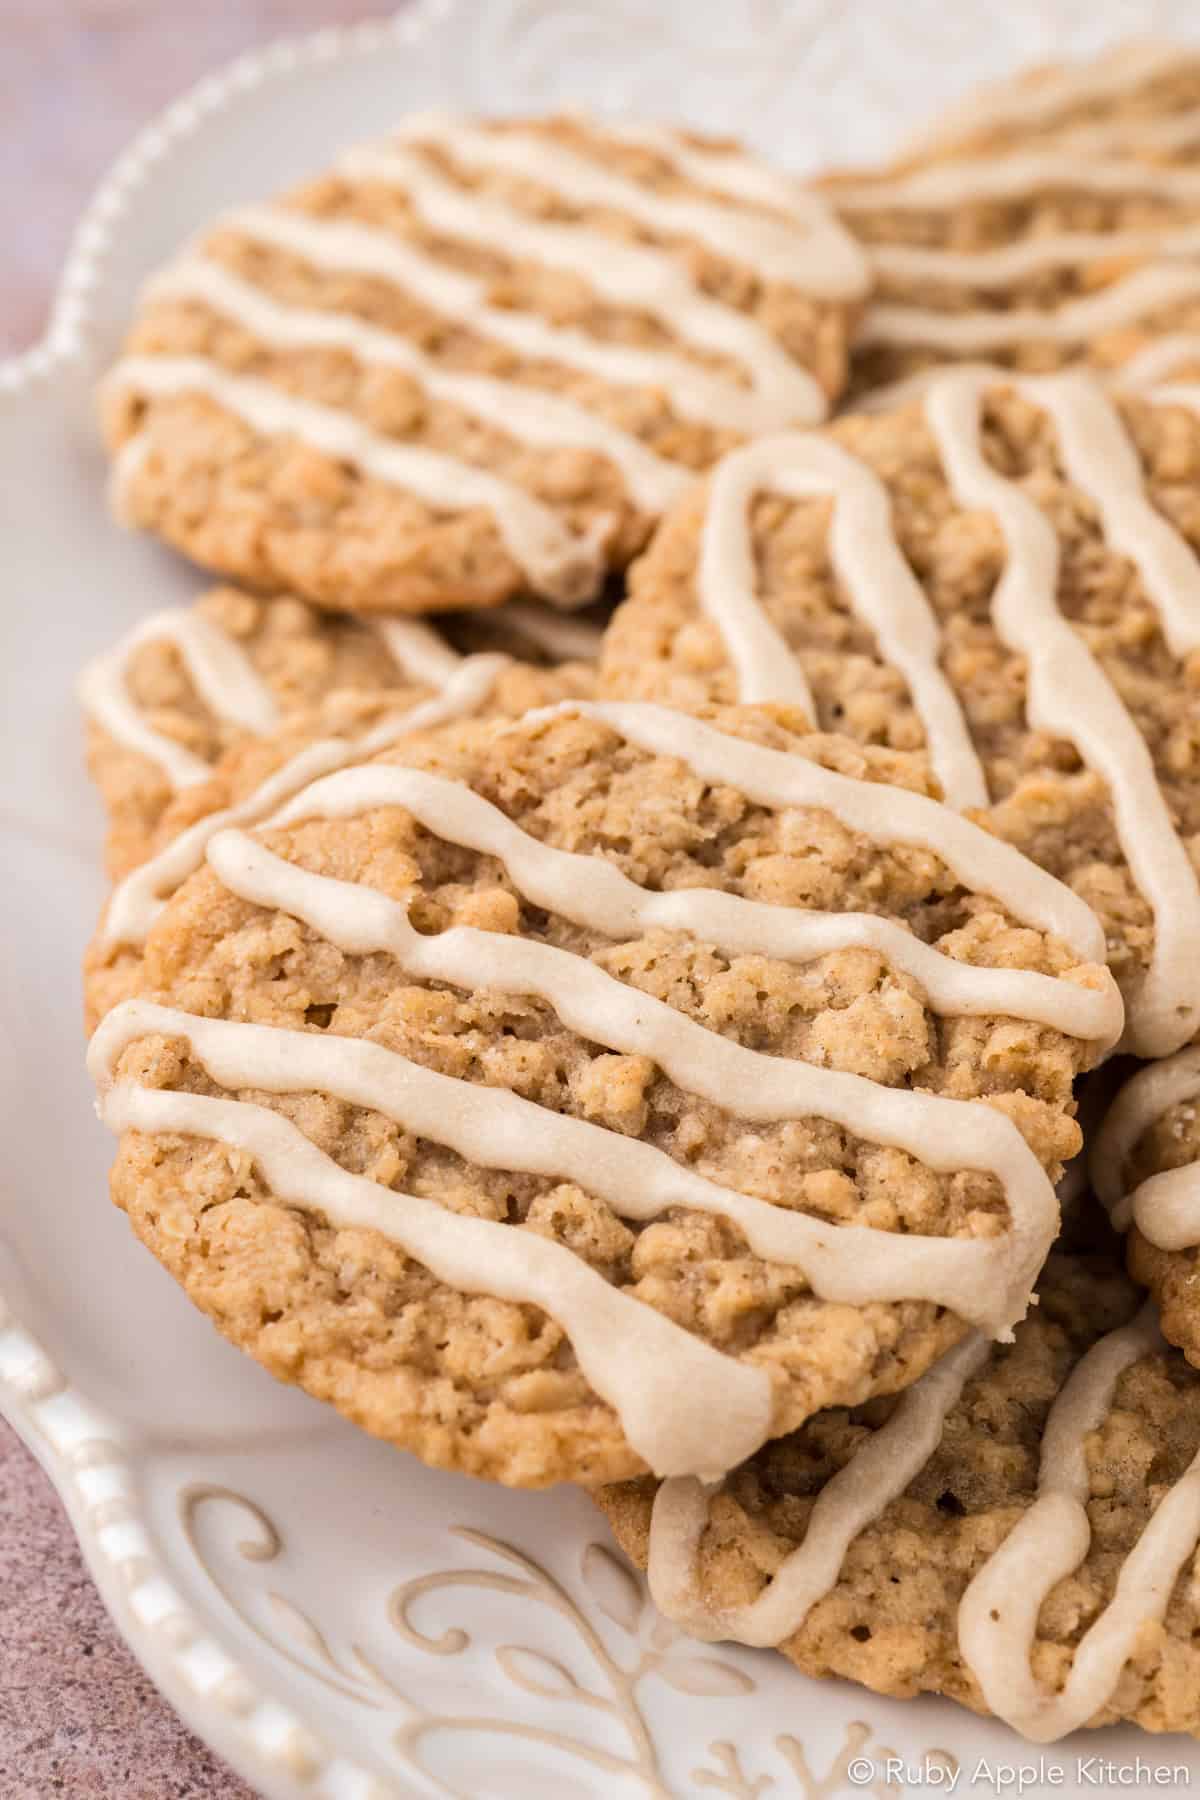
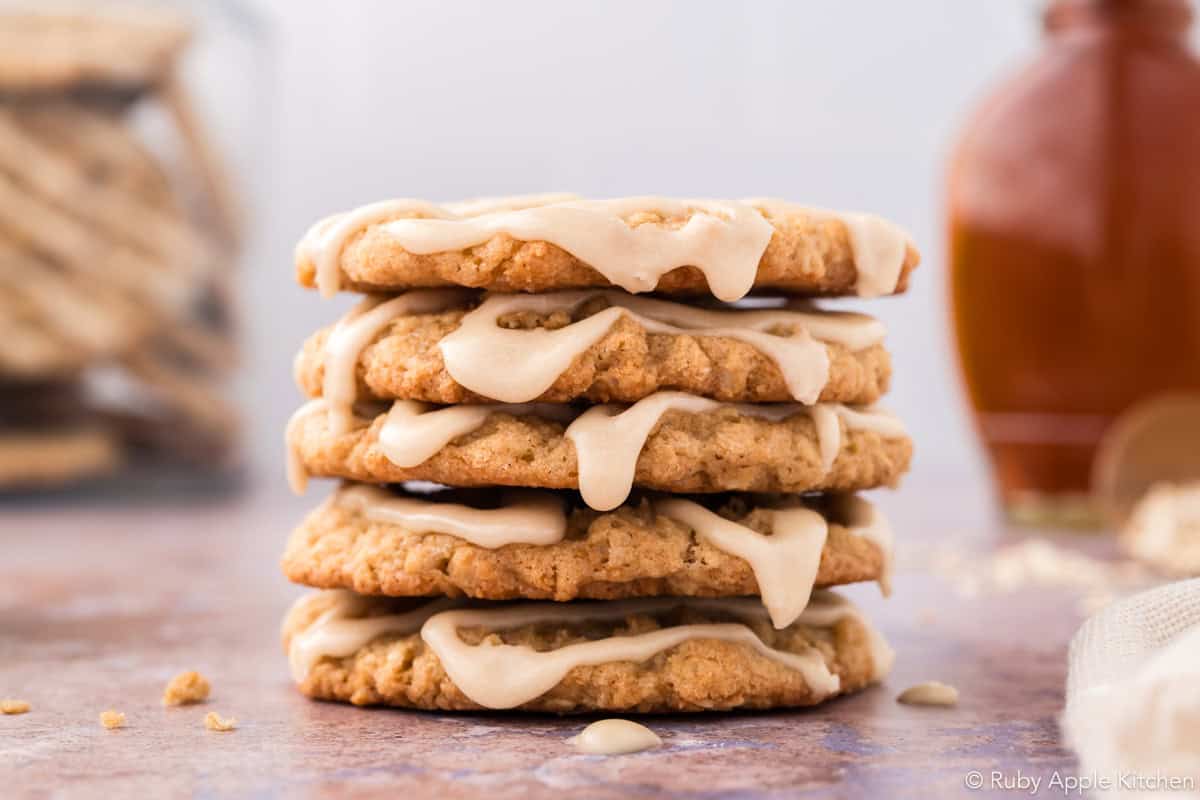
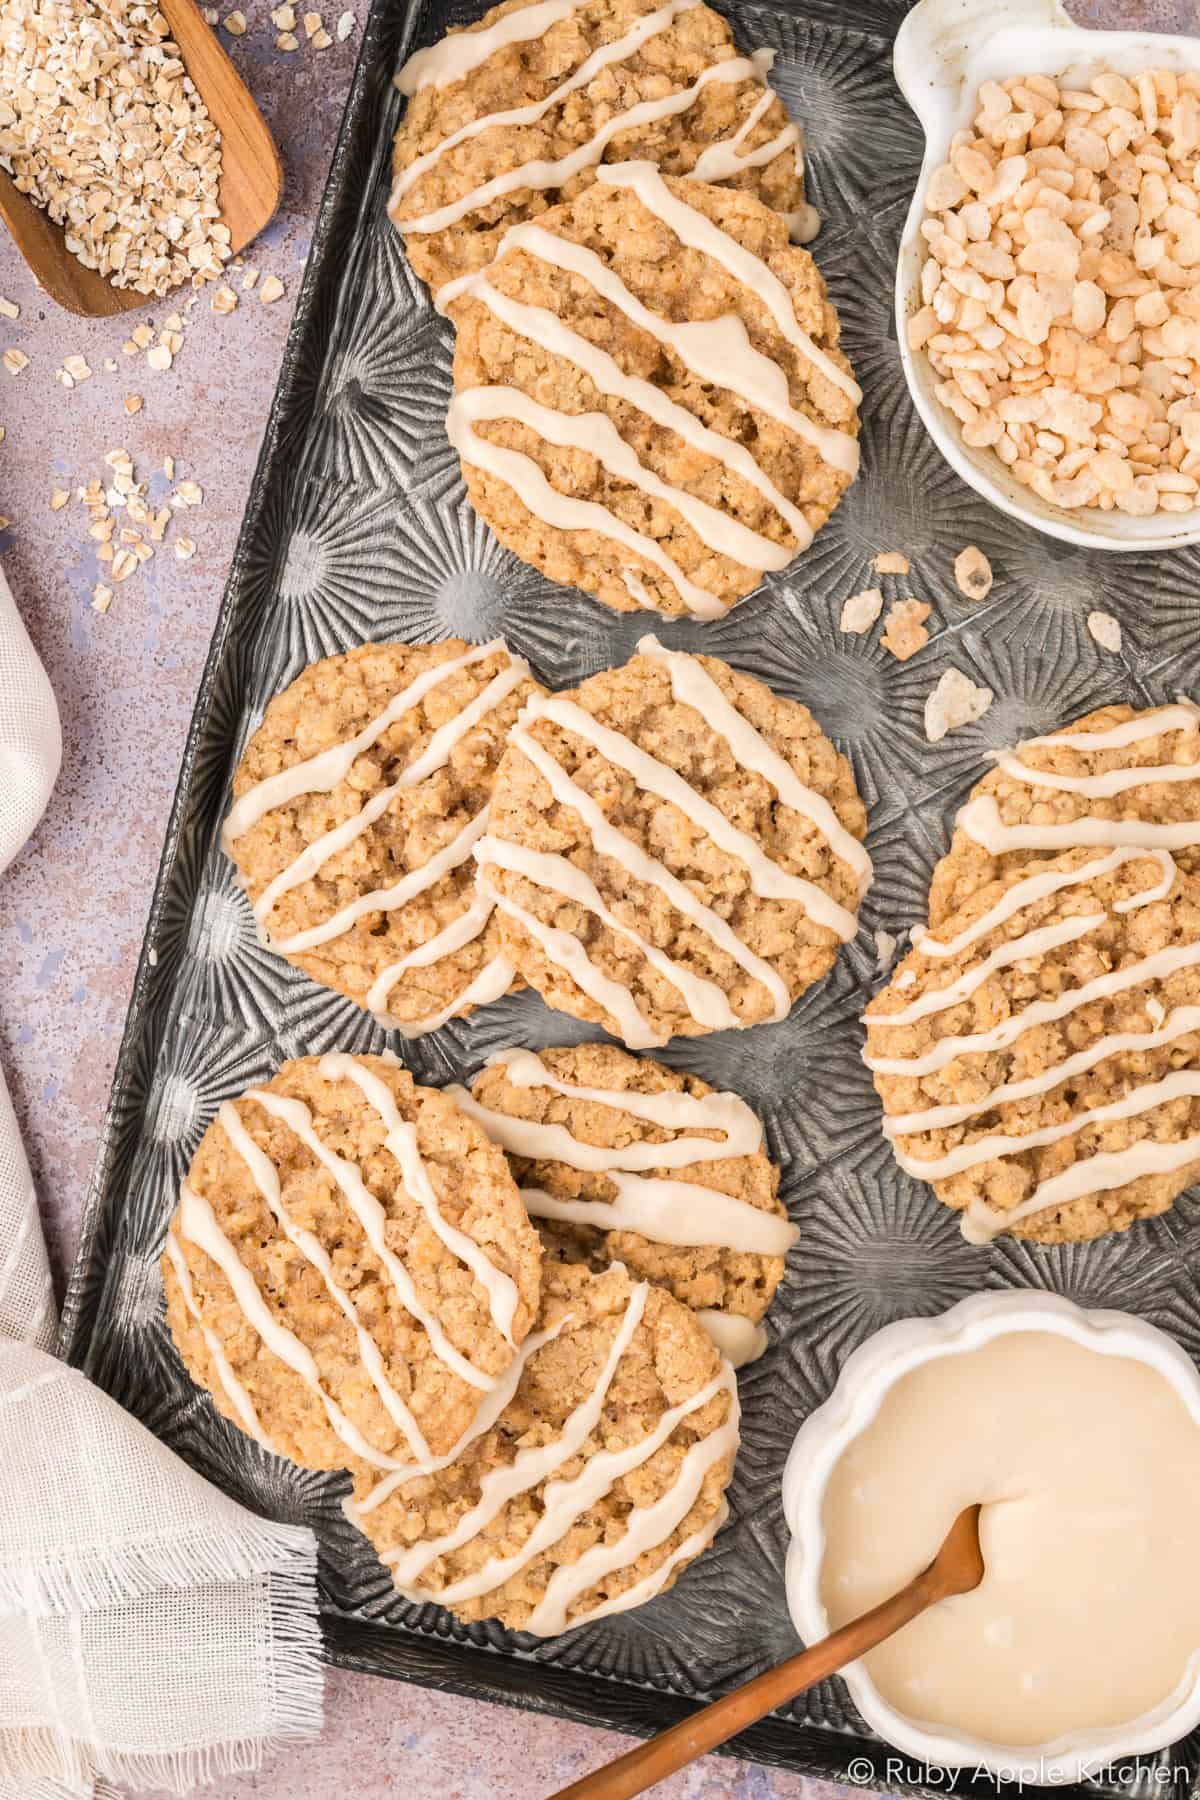
- Maple-glazed cookies: Add the optional maple glaze for a sweeter finish and a more noticeable maple flavor. I prefer mine plain. The glaze is pretty, but sometimes the best part is what's underneath.
Storage
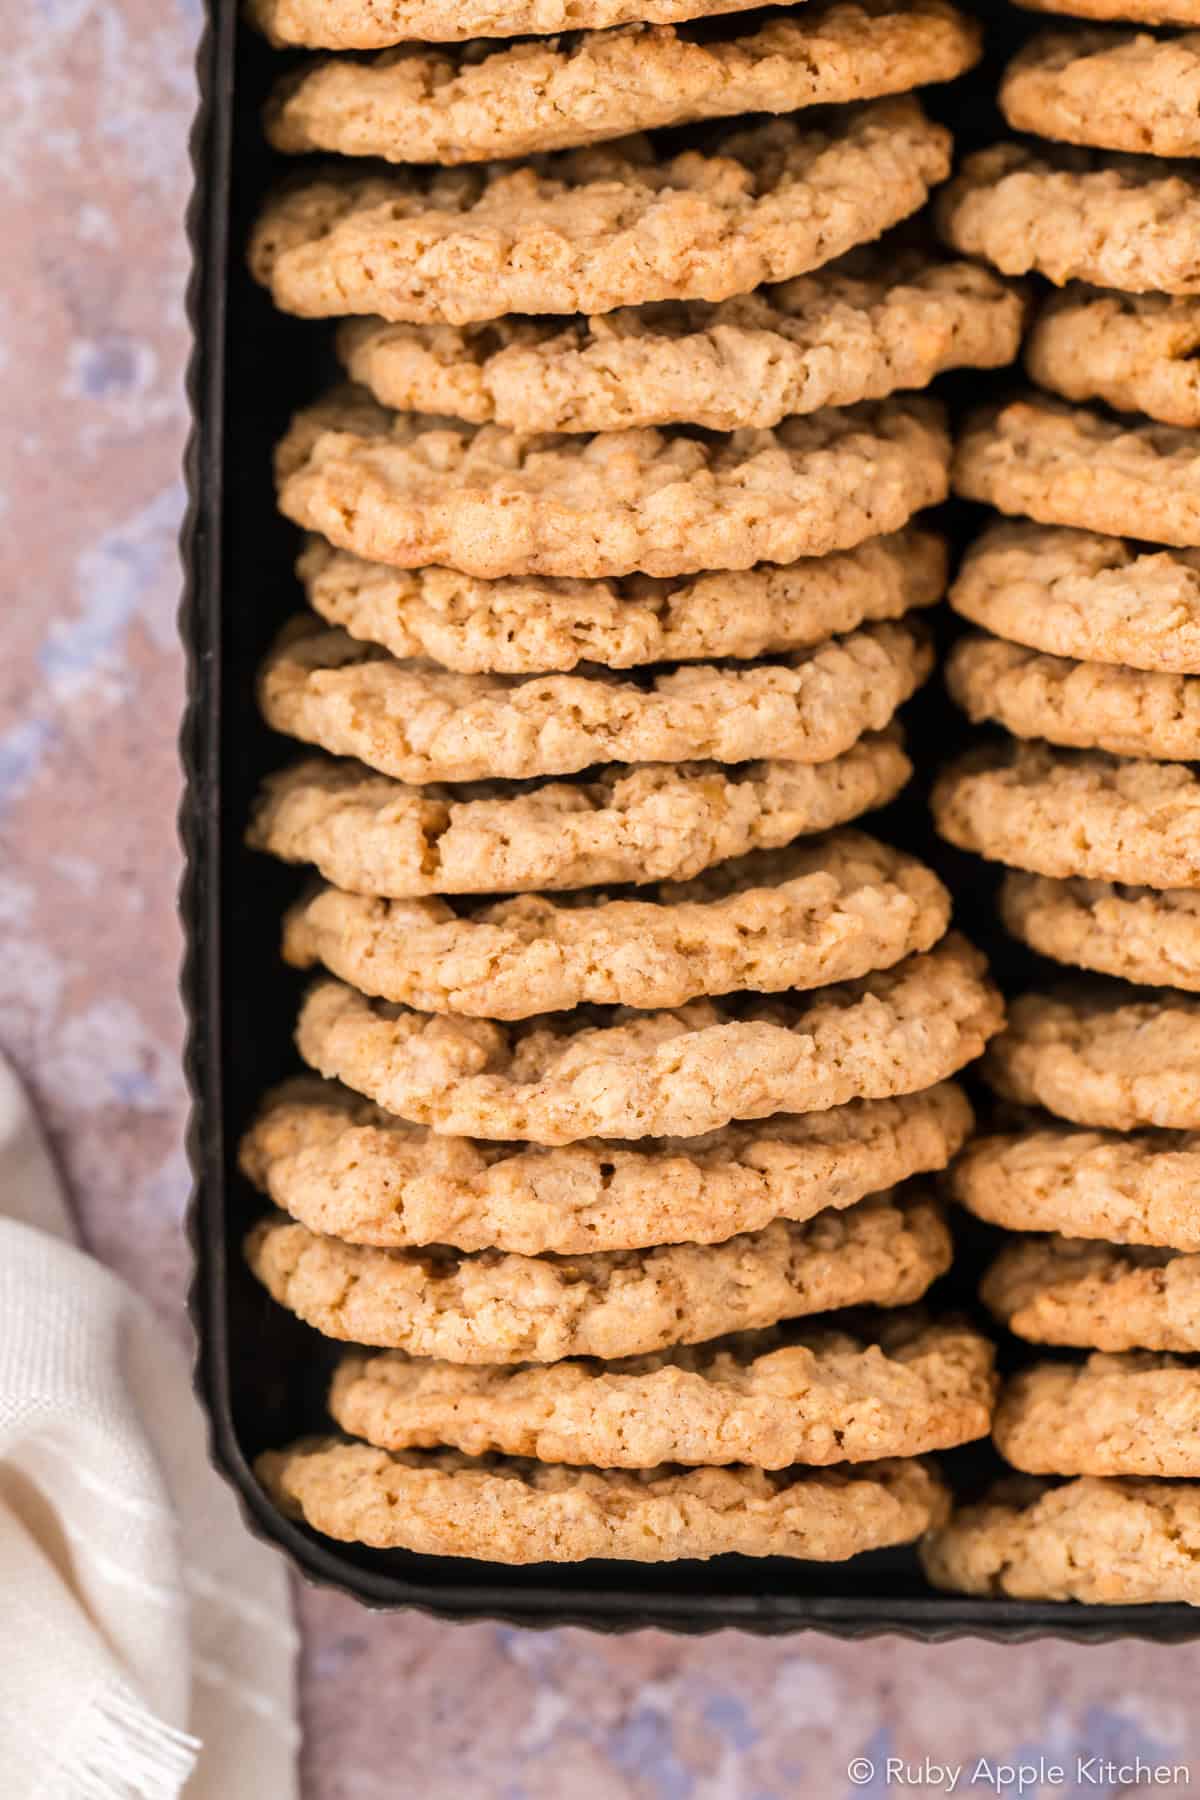
These cookies are best the day they’re baked, but they keep surprisingly well when made with soft, moist brown sugar and stored properly. Once completely cool, store them in an airtight container at room temperature. In my final testing, they were still moist, bendy, and chewy two days after baking, though they will gradually lose some of their fresh-baked texture as they sit.
For the best chewy texture, take care not to overbake them and keep the container tightly sealed between servings.
If stacking glazed cookies, let the glaze set completely first, then separate the layers with parchment paper to help prevent sticking.
Freezing: I haven’t tested freezing this recipe yet. If you’d like to freeze the baked cookies, let them cool completely, then store them unglazed in an airtight, freezer-safe container. Thaw at room temperature and add the optional maple glaze afterward. Keep in mind that the texture may change somewhat after freezing and thawing.
Hint: Eating all the cookies before they have time to dry out also works. No judgment here.
FAQ
I developed and tested this recipe with quick-cooking oats. Old-fashioned oats may also work, but I haven’t tested them in this recipe. They may give the cookies a heartier texture and could affect the spread and chew.
I don’t recommend replacing the maple extract with maple syrup in the cookie dough. Maple syrup is much less concentrated and also adds extra liquid and sugar, which can change both the flavor and texture.
No. I tested both chilled and unchilled dough, and chilling didn't improve the finished cookies enough to justify the extra step. The dough can be scooped and baked right after mixing. If it becomes unusually warm or soft while you're working, refrigerate it briefly until it firms up slightly.
Bake until the edges are set and barely golden and the centers are still soft and a little paler. A little glossiness in the centers is fine, but the dough should not look wet or fluid. In my testing, 10–11 minutes is usually the ideal range, but ovens vary. Don’t wait for deep browning, or the edges and bottoms can become too crisp.
No, but I recommend it. The cookies release more easily and brown a little more slowly on parchment. If you bake them directly on a lightly greased aluminum pan, they may spread slightly less, brown faster, and stick more, so begin checking them sooner.
Chewy Maple Oatmeal Cookies with Rice Krispies

Ingredients
Butter & Sugars
- ¾ cup + 1 tablespoon butter (185 g), unsalted, cool room temperature, about 65°F
- ¾ cup + 2 tablespoons granulated sugar (175 g)
- 1 cup light brown sugar, packed (213 g)
Wet Ingredients
- 2 large eggs (100 g without shells), room temperature
- 1 tablespoon unsulphured molasses (21 g)
- 2 teaspoons maple extract (9 g)
- ½ teaspoon vanilla extract (2 g)
Dry Ingredients
- 2 cups + 3 tablespoons all-purpose flour (263 g)
- 1½ teaspoons baking powder (6 g)
- ¾ teaspoon fine salt (4 g)
- 1 teaspoon ground cinnamon (3 g)
Oats & Cereal
- 2 cups quick-cooking oats (178 g)
- 2 cups crisp rice cereal, such as Rice Krispies (56 g)
Optional Maple Glaze
- 1 cup powdered sugar (113 g)
- 2 tablespoons + 2 teaspoons pure maple syrup (52 g)
- 1 tablespoon unsalted butter (14 g), melted and slightly cooled
- ¼ teaspoon maple extract (1 g)
- small pinch of fine salt
- 1½ teaspoons milk or cream (7 g), plus more as needed
Instructions
Make the Cookie Dough
- Preheat the oven: Position a rack in the center of the oven and preheat to 375°F. Line a light-colored aluminum baking sheet with parchment paper.
- Cream the butter and sugars: Beat the butter, granulated sugar, and brown sugar on low to medium-low speed for about 2–3 minutes, until creamy, cohesive, and slightly lightened. The mixture will still look slightly grainy.
- Add the eggs and flavorings: Beat in the room-temperature eggs one at a time on low speed, mixing just until incorporated. Add the molasses, maple extract, and vanilla, then mix on low until evenly combined. Scrape the sides and bottom of the bowl well.
- Add the dry ingredients: In a separate bowl, whisk together the flour, baking powder, salt, and cinnamon. Add to the butter mixture and mix on low just until no dry streaks remain.
- Fold in the oats and cereal: Add the quick-cooking oats and crisp rice cereal. Fold gently with a spatula until evenly distributed, taking care not to crush the cereal.
Scoop and Bake
- Portion the dough: Scoop into 30 g portions, about 2 tablespoons each. Arrange 8 cookies per prepared baking sheet, leaving a few inches between them. Do not flatten.
- Bake and cool: Bake one sheet at a time for about 10–11 minutes, until the edges are set and barely golden and the centers are still soft and a little paler. A little glossiness in the centers is fine, but the dough should not look wet or fluid. Cool on the baking sheet for 5–10 minutes, then transfer to a wire rack.
Make the Optional Maple Glaze
- Make the glaze: Whisk the melted butter, maple syrup, maple extract, and salt until combined. Whisk in the powdered sugar and 1½ teaspoons milk or cream until smooth. Add more milk or cream a few drops at a time if needed, until the glaze is thin enough to drizzle but thick enough to leave defined lines on the cookies.
- Glaze the cookies: Once the cookies are completely cool, drizzle the glaze lightly over the tops. Let the glaze set before serving or storing.
Notes
- Measurements: I develop and test my recipes primarily by weight. Volume measurements are provided for convenience. I use King Arthur Baking’s ingredient weight chart as my standard for conversions when available. For the most consistent results, I recommend using a kitchen scale, especially for flour. If measuring flour by volume, fluff it first, gently spoon it into the measuring cup, and level it off without packing.
- Brown sugar: Use soft, moist light brown sugar for the best results. Dry or sandy brown sugar can affect the chew and how well the cookies hold their texture. Some organic brown sugars have a coarser texture, and I haven't tested those in this recipe. Dark brown sugar may also work, but it will give the cookies a stronger molasses flavor and may affect the texture.
- Room-temperature eggs: Room-temperature eggs blend more smoothly into the butter mixture and help keep the dough temperature consistent. To warm cold eggs quickly, place them in warm tap water for 5–10 minutes.
- Oats: I developed and tested this recipe with quick-cooking oats. Old-fashioned oats may give the cookies a heartier texture and may affect spread and chew.
- Molasses: Use regular unsulphured molasses. I don’t recommend blackstrap molasses, which has a much stronger, more bitter flavor.
- Maple syrup: Don’t substitute maple syrup for the maple extract in the cookie dough. It is less concentrated and adds extra liquid and sugar.
- Storage: Once completely cool, store the cookies in an airtight container at room temperature. They have their best fresh-baked texture the first day, but in my testing they were still moist, soft, and chewy two days after baking.
- Altitude: I develop and test my recipes at approximately 4,850 feet elevation in Utah. This recipe has not yet been tested at lower elevation, but altitude does not affect every baked good in the same way. I recommend starting with the recipe as written and using the visual cues for doneness, since spread and bake time can vary between kitchens.
- Calories: Estimated per cookie, including the optional maple glaze.
Comments
No Comments